How Dirty Air Shortens the Life of Pneumatic Tools
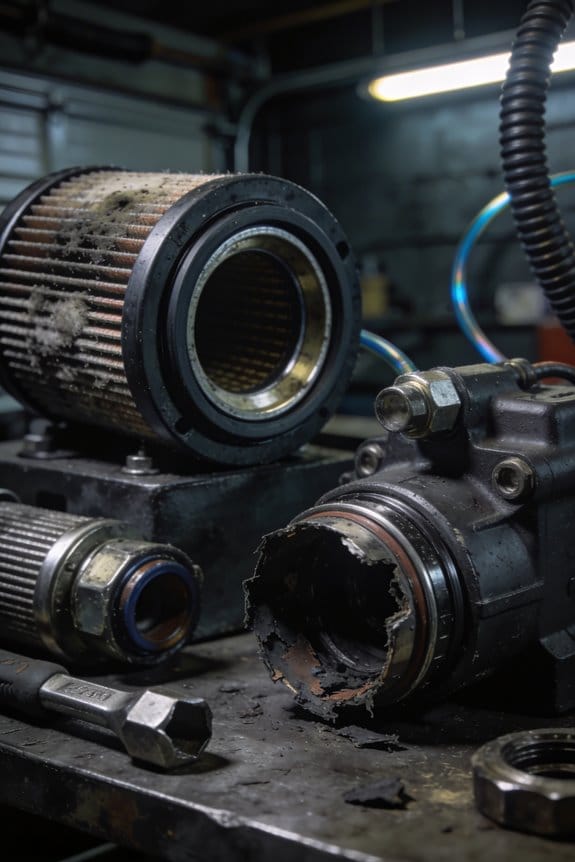
Dirty compressed air shortens pneumatic tool life—abrasives, moisture and oil cause wear and jams. Learn simple fixes and inspections to restore performance.

Dirty compressed air shortens pneumatic tool life—abrasives, moisture and oil cause wear and jams. Learn simple fixes and inspections to restore performance.
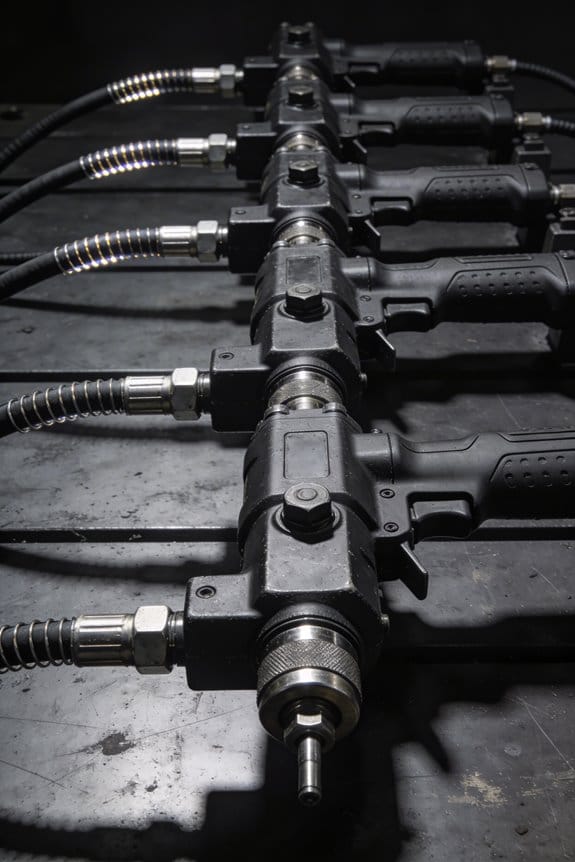
Automation reshapes pneumatic-tool use—shift from constant fastening to supervising torque stations, reducing injuries and boosting efficiency. Try a short pilot.
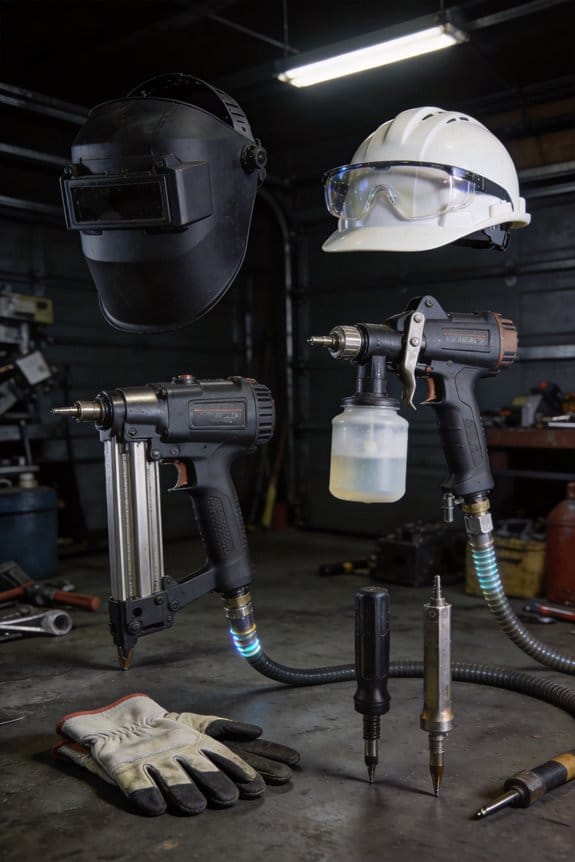
Why PPE still matters with nail and spray guns: protect eyes, lungs, hands and hearing from ricochets, mist, and fumes — learn practical gear choices now.
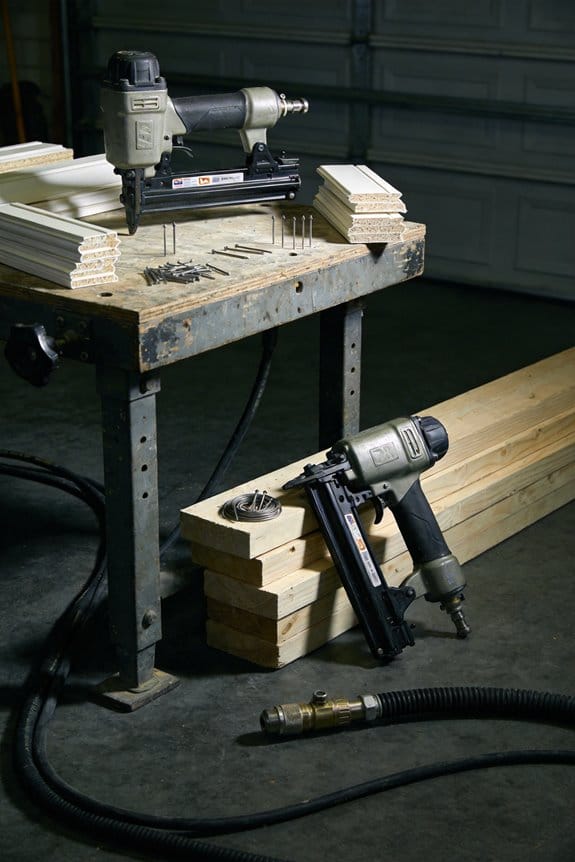
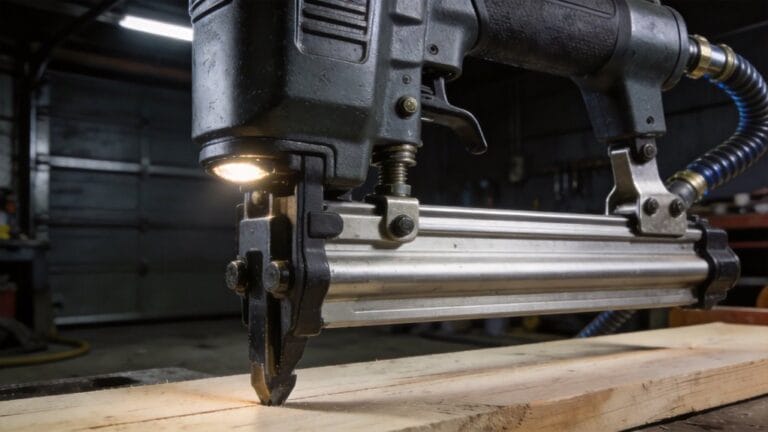
How trim carpenters use pneumatic tools: choose finer nailers, set depth on scrap, match compressor and hoses for clean, low‑visibility finishes — learn tips now.
Inverter-driven compressors cut 20–40% part-load energy, smooth temps, and reduce wear—learn costs, installs, and payback. Click to get the details.
Air-powered tools deliver cooler, lighter power for steady, repeatable torque and long runs—great near flammables. Learn setup and upkeep now.
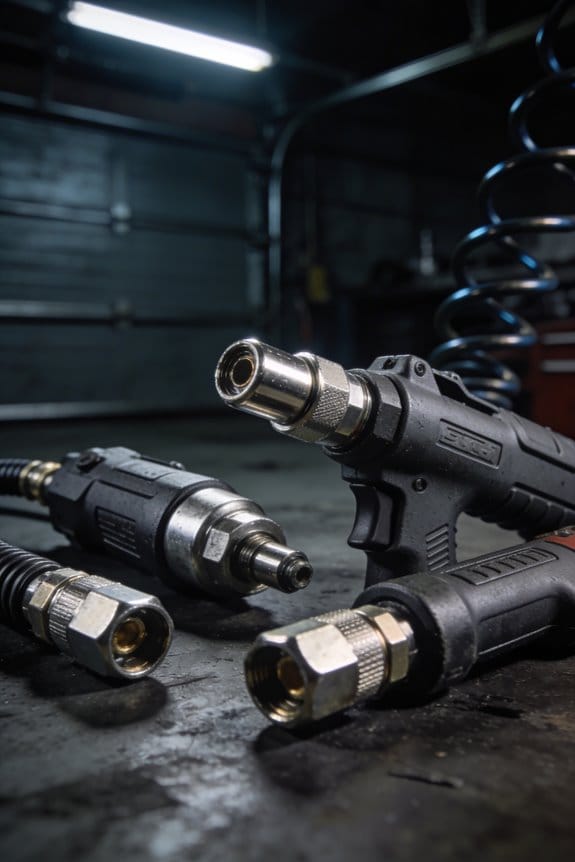
Quick-connect fittings silently rob your air tools of pressure and performance. Learn how to minimize losses and keep your tools running at peak power.
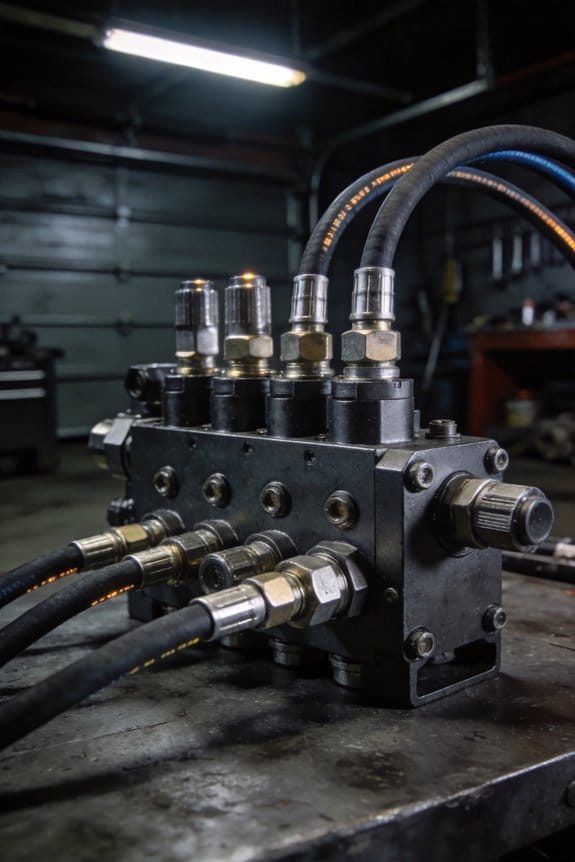
Standardized manifolds boost workshop efficiency by cutting setup time in half and simplifying maintenance. Discover how they streamline operations today.

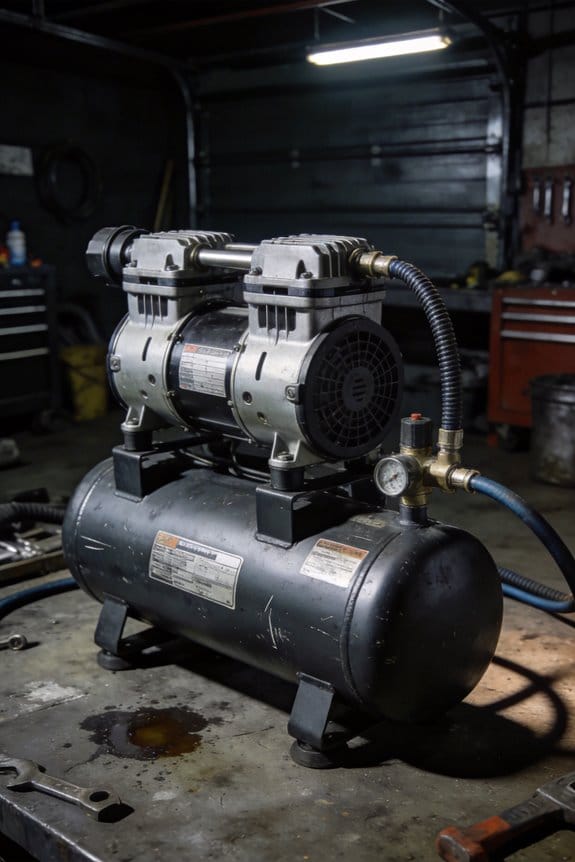
Here's what actually happens when you skip drain cycles on your air compressor.
Moisture builds up inside the tank, causing rust that weakens the metal walls. This rust flakes off and contaminates your compressed air, damaging tools and ruining paint jobs. You'll notice water in your lines causes pressure drops and inconsistent tool performance.
The key to protecting your compressor is draining daily. This prevents moisture accumulation, protects your equipment from corrosion, and maintains clean, dry air that keeps your tools running smoothly.
Step 1: Find the drain valve — it's usually at the bottom of the tank.
Step 2: Open the valve completely and let all the water drain out. You'll hear a hissing sound as air escapes with the moisture.
Step 3: Close the valve tightly when only air comes out. No water should remain in the tank.
Most people forget to drain their compressor until they notice problems. Here's the better way: set a daily reminder on your phone or do it at the end of each workday.
Think of your compressor like a water bottle left in the car. If you don't empty it regularly, bacteria grows and the bottle gets gross. Your compressor works the same way with moisture.
If you've ever had paint jobs with fisheyes or tools that sputter, this is why. Contaminated air from moisture buildup causes these exact problems.
You'll extend your compressor's lifespan by years when you maintain this simple habit. The cost of a few minutes daily beats replacing a rusted tank or buying new tools.
The difference between a compressor that lasts 5 years versus 15 years often comes down to whether you drained it regularly.
Most people stick with manual hammering because they think pneumatic nailers are too expensive or complicated. Here's what actually happens when you switch to pneumatic nailers in your furniture production shop: your speed increases immediately, your consistency improves dramatically, and your operator fatigue disappears almost overnight.
The key to pneumatic nailers is simpler than it sounds. They deliver consistent power through compressed air, which means equal force throughout extended use while driving thousands of nails per hour. You'll notice the difference right away when you're not fighting hand cramps after a full day of production.
Step 1: Choose the right pneumatic nailer for your specific woodworking needs. Different nailers handle different nail sizes and materials, so match the tool to your most common production tasks.
If you've ever struggled with inconsistent nail depth or bent nails during manual hammering, this is why pneumatic nailers solve those problems automatically. The compressed air maintains steady pressure, eliminating the human variability that causes rejects.
Think of pneumatic nailers like having a reliable assistant who never gets tired or makes mistakes. They maintain the same driving force whether it's your first nail of the day or your thousandth.
The upfront cost quickly offsets through reduced labor hours and fewer rejects, making pneumatic nailers an indispensable tool for production-minded woodworking. You'll recover your investment in months, not years, through increased output and reduced waste.
Here's what actually happens when you calculate the numbers: if you're producing furniture pieces that require 50 nails each, and you can drive those nails in 30 seconds instead of 3 minutes, you're saving 2.5 minutes per piece. Multiply that across hundreds of pieces per week, and you'll see why production shops make the switch.
Most people underestimate how much operator fatigue affects quality. When you're tired, your hammering becomes inconsistent, leading to surface damage and misaligned joints. Pneumatic nailers eliminate this variable completely.
Step 2: Set up your compressed air system properly. You need adequate pressure (typically 70-120 PSI) and clean, dry air to prevent tool damage and ensure consistent performance.
If you've ever wondered why some pneumatic tools seem to lose power over time, it's usually air quality issues. Moisture and debris in your compressed air line will destroy your investment quickly.
Think of your compressed air system like the foundation of a house. If it's not solid and clean, everything built on top of it will have problems.
The key to long-term success with pneumatic nailers is maintenance. You'll need to oil the tool regularly and keep your air filters clean. This takes five minutes per day but prevents hours of downtime later.
Step 3: Train your operators on proper technique. Even with pneumatic tools, there's a learning curve for optimal results.
Most people think pneumatic nailers are foolproof, but proper positioning and pressure application still matter. Your operators need to understand how to hold the tool, where to place nails, and how to maintain consistent contact with the workpiece.
If you've ever had nails blow through the back of a board, this is why proper technique matters. Pneumatic nailers have more power than manual hammering, so operator skill becomes even more critical.
Step 4: Organize your workflow around pneumatic nailer efficiency. Position your compressor centrally, keep nail supplies accessible, and plan your assembly sequence to minimize movement.
Think of your production line like a conveyor belt. Every step should flow naturally into the next, with your pneumatic nailer as the central tool that ties everything together.
Here's what actually happens when you optimize your workflow: you'll reduce setup time between pieces, minimize walking distance, and keep your operators focused on production rather than tool management.
The upfront cost quickly offsets through reduced labor hours and fewer rejects, making pneumatic nailers an indispensable tool for production-minded woodworking. You'll wonder how you ever managed without them.