You’re midway through a roof deck and your cordless nailer’s light blinks while you juggle battery packs and a ladder—what’s faster: swapping cells or switching to air?
Or you’re framing a wall and notice inconsistent drives that leave some nails proud and others set too deep—why won’t the cordless behave like your old gun?
Most people assume battery power equals convenience and don’t account for runtime fade, shot-to-shot consistency, or the ergonomics of tool weight.
This short piece will show when a pneumatic nailer keeps your crew moving faster, how it delivers uniform drive depth and longer continuous runs, and when a cordless tool actually makes sense on a job.
It’s practical, not theoretical. Simpler than it sounds.
Key Takeaways
If you’ve ever run a long strip of framing, this is why pneumatic nailers still matter: they drive nails at the same depth every time so you won’t be re-sinking overdrives or hunting for underdrives. For example, on a 12-hour day framing a 2,500 sq ft house, you’ll see the same flush finish nail after nail, which saves you from stopping to fix dozens of nails.
Before you pick a tool for a full day, know that compressors let crews keep going without swapping batteries — they sustain high cycle rates so you can drive thousands of nails back-to-back. Picture a two-man crew roofing a 30-square job: with a 60–80 psi setup and a 5–6 gallon/sec compressor, they can run continuous cycles for hours without power interruptions.
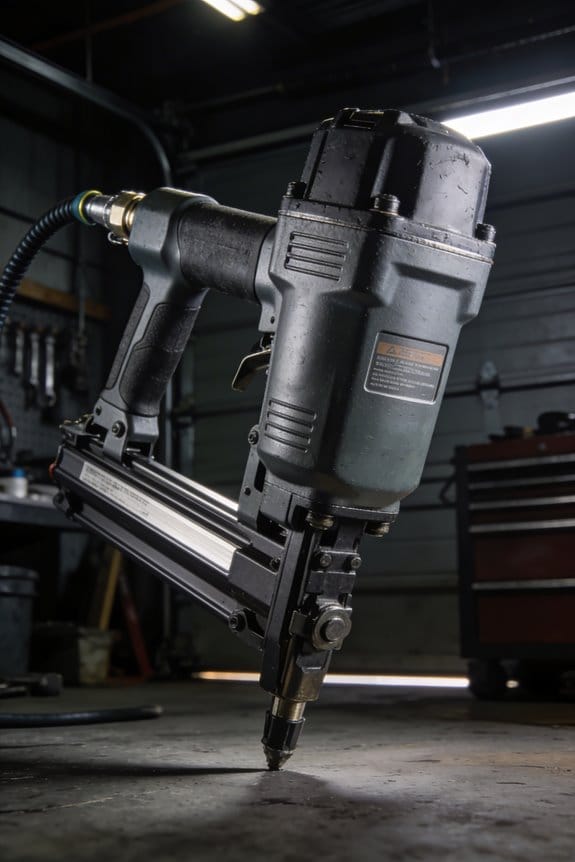
If you’ve ever felt sore after a long overhead job, this explains the weight difference: pneumatic framing guns are lighter and better balanced, which reduces arm fatigue and improves speed when you’re nailing above your head. On a second-story deck install, you’ll notice you can handle the gun longer without dropping accuracy.
Before you budget for materials, remember that the per-nail cost and simple upkeep make pneumatics cheaper over lots of nails — you save on batteries and replacements. For a contractor doing 100,000 nails a year, replacing batteries would cost more than keeping a compressor and maintaining hoses.
The difference between inconsistent and steady nailing comes down to the air delivery system: a proper hose and regulator setup gives stable pressure and steady cycle times so productivity doesn’t wobble on large jobs. Set your regulator to 95 psi, use a 3/8″ hose for runs under 50 feet, and you’ll keep cycle times predictable.
Pneumatic vs Cordless: When Pros Choose Air Tools
If you’ve ever stood on a deck with a tangled hose and a dead battery, this is why.
Why it matters: pneumatic nailers keep firing at the same depth and power no matter how long you run them, so your spacing and holding patterns stay consistent. For example, when I roofed a shed for a neighbor, the compressor let me sink 500 nails in a row without changing depth — the battery-powered option would have forced three stops to swap packs.
When you choose pneumatic nailers for speed and weight, here’s what to expect and how to set up.
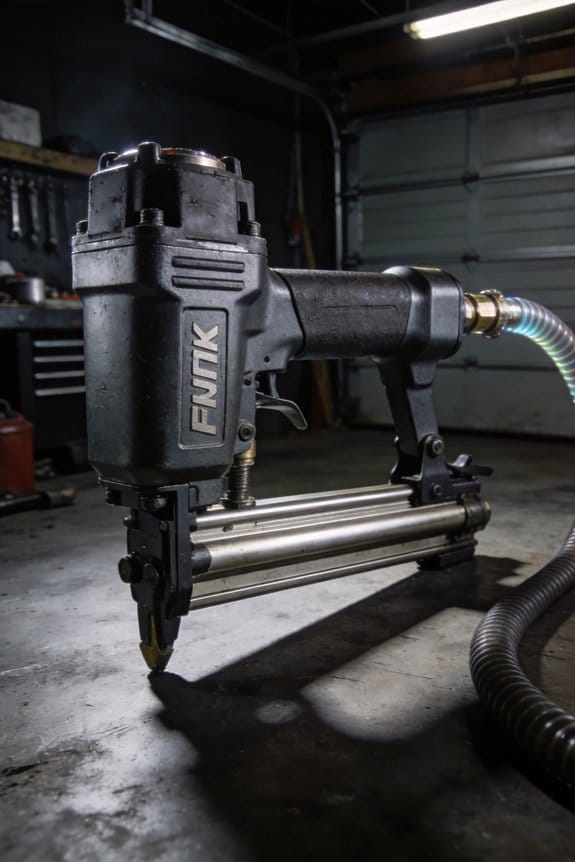
Why it matters: lighter tools reduce fatigue, so you can work longer with fewer mistakes. I used a 3.5‑pound pneumatic framing gun all day on a fence job and felt less wrist strain than the 7‑pound cordless alternative.
1) Plan compressor logistics.
- Step 1: Pick a compressor that delivers at least 3.5 CFM at 90 PSI for framing guns; many trim and finish guns need 1–2 CFM at 70–90 PSI.
- Step 2: Place the compressor on level ground within 50 feet of your work to avoid big pressure drops; use a 3/8‑inch hose for runs under 50 feet and 1/2‑inch for longer runs.
- Step 3: Use a hose reel or heavy‑duty hose guards to keep hoses off walkways so you reduce tripping hazards.
Real example: on a two‑story deck, I ran a 1/2‑inch hose up an exterior ladder and secured it every 6 feet with cam straps so the hose didn’t snag the railing.
Why it matters: compressors add noise, and hearing loss is permanent, so protect your crew now. On my last job, the compressor alone measured 92 dB at five feet.
2) Manage noise and breaks.
- Step 1: Measure sound with a phone app; if it’s above 85 dB, schedule 15‑minute breaks every hour or require NRR 25+ ear muffs.
- Step 2: Position the compressor at least 25 feet away and orient the exhaust away from work areas to shave off several decibels.
- Step 3: Rotate tasks so the same person isn’t operating the gun and compressor nonstop.
Why it matters: checking hoses and fittings prevents sudden pressure loss or hose whip that can injure people or damage material. On a remodel, a worn quick‑connect blew off and the hose snapped back five feet.
3) Follow safety and maintenance steps.
- Step 1: Inspect hoses daily for cuts and soft spots; replace any hose with damage visible or older than two years.
- Step 2: Tighten fittings and secure the regulator to the compressor; set pressure according to the tool — check the gun’s manual for exact PSI.
- Step 3: Train everyone on proper body position, controlling recoil, and keeping fingers off the trigger until the nose is against the work.
Real example: I ran a short crew training where each person fired five nails from chest height into scrap lumber while I coached stance and trigger discipline; that practice eliminated jerky shots the next day.
If you want quick, light, and steady firing for long runs, pneumatic is usually the practical choice because it costs less up front, weighs about half as much as comparable cordless framing guns, and delivers consistent performance over long sessions.
Job Fit: Framing, Roofing, Siding, and Finish Work

If you’ve ever stood on a roof with a coil of nails in one hand and a dead battery in the other, this is why tool choice matters.
Framing: When should you pick pneumatics?
Why it matters: You save time and finish big walls faster.
Example: On a 2,400 sq ft house with 8-ft walls, you’ll drive thousands of nails in a single day.
How to decide:
- Count nails. If you’re driving more than 2,000 nails in a day, choose a pneumatic.
- Prep the compressor. Set it to 90–120 psi and use a 3/8″ hose at 50–70 feet with a 3-gallon minimum receiver for steady air.
- Maintain rhythm. Load 1,000 nails in strips and swap magazines every 15–30 minutes to keep pace.
Tip: Use a 2–3 port manifold so two framers can work without pressure drop.
End detail: A pneumatic framer will often cut drive time by 30–50% on large walls.
Roofing: When pneumatics win on the roof
Why it matters: You avoid stopping mid-sheet and reduce missed or shallow drives.
Example: Re-roofing a 1,500 sq ft house with architectural shingles can require 3,500–5,000 caps.
How to decide:
- Estimate fasteners. If you’ll install more than 3,000 cap nails, use a roofing nailer on air.
- Set air pressure to 90–100 psi for shingle caps and test on a scrap shingle to confirm depth.
- Staged loading: keep three coils on the ridge — one in the gun, one on the decking, one in the truck.
Tip: Use an inline moisture trap when working early in the morning to prevent corrosion.
End detail: With steady air you’ll keep a single roofer laying shingles at 60–80 sq ft per hour.
Siding: When air tools keep production steady
Why it matters: You maintain consistent depth across mixed sheathing and trim.
Example: Installing cedar lap siding on a 30′ wall with OSB backing and 7/16″ sheathing requires different nail holding but the same depth.
How to decide:
- Match gun and fastener. Use a siding nailer with 70–90 psi and 1¼” to 1¾” nails depending on thickness.
- Test and adjust. Drive three test nails in scrap every change of board or sheathing type.
- Rotate tasks. Put one installer on the pneumatic gun and another on layout/cleanup to avoid idle time.
Tip: If you only have short runs under 100 linear feet, a cordless gun can be just as fast and keeps hoses out of the way.
End detail: Air guns prevent underdrives when switching between 7/16″ and 5/8″ materials.
Finish work: When you still want air, and when cordless works
Why it matters: Finish requires repeatable depth and minimal tear-out.
Example: Hanging 20 interior doors plus trim on a 2,000 sq ft remodel needs consistent 16-gauge pin shots and 18-gauge brads.
How to decide:
- Choose type by task. Use a pneumatic 16-gauge for door casing and baseboards where repeatability matters, and a cordless 18-gauge for quick touch-ups and small rooms.
- Set depth increments. On the finish nailer, set depth so countersink is 1–2 mm below surface, then test on scrap trim.
- Keep a cordless backup. Carry a charged 2.0–3.0 Ah battery and a small pneumatic kit for long runs.
Tip: Use compressed air for long, full-day trim runs; for three or four short rooms, cordless beats setup time.
End detail: Pneumatic finishers reduce rework on multiple doors by roughly 40%.
Safety and jobsite logistics: compressors indoors and crew rotation
Why it matters: You keep air tools efficient and crews productive without creating hazards.
Example: Running a 6-gallon compressor indoors in a basement remodel can spike CO and noise if you don’t route exhaust.
How to decide:
- Ventilate the compressor. If indoors, run exhaust outdoors with a 4″ duct and keep intake clear of dust.
- Control noise. Use 6–12 ft of hose to place the compressor behind a barrier or in a vehicle, and wear NRR 25–30 ear protection.
- Plan crew rotations. Assign one person to the pneumatic station and one to layout or finishing; rotate every 2–3 hours to reduce fatigue and training needs.
Tip: Keep inline moisture traps and 5-micron filters on the line; drain daily.
End detail: Proper ventilation and rotation reduce downtime and respiratory or hearing risks.
Quick checklist before you choose:
- Nail count >2,000/day → pneumatic.
- Roofing >3,000 caps → pneumatic.
- Siding short runs <100 ft → cordless OK.
- Finish work: long trim runs → pneumatic; small rooms → cordless.
- Indoor compressor → route exhaust, use filters, and wear ear protection.
That’ll help you match the right tool to the job and keep your day moving.
Weight & Ergonomics: Reducing Fatigue on Long Jobs

If you’ve ever spent a whole day up a ladder, this is why tool weight and balance matter to your stamina.
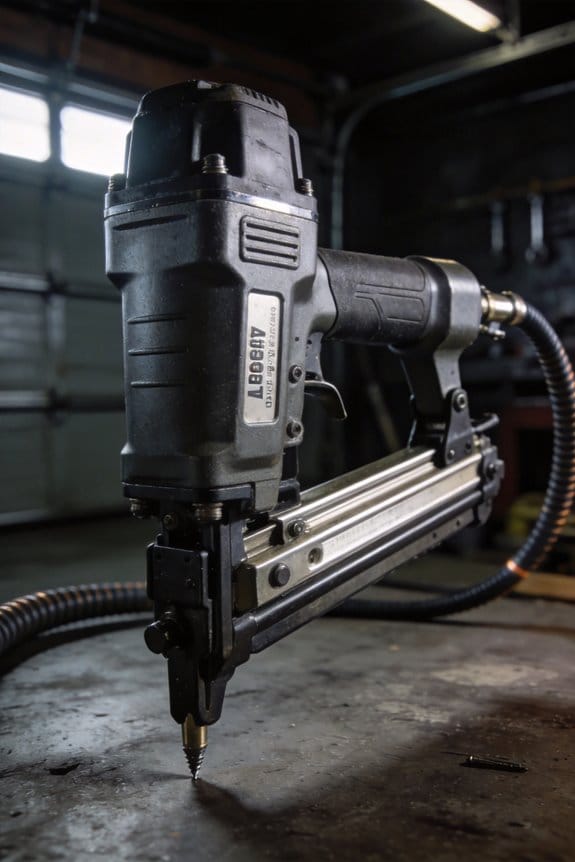
You want to reduce fatigue so you can keep a steady pace for hours. For example, when I switched from a 9.5‑lb cordless framing gun to a 4.5‑lb pneumatic nailer, I could hold it overhead for 30–40% longer before my shoulders started burning. The lighter tool kept my wrist from cocking and let me finish a 10‑sheet sheathing run without extra breaks.
Before you buy, check these concrete things so you know what will help you on the job.
- Weigh each tool in your hand for 10–15 seconds while standing on a ladder or platform at eye level; if it feels heavy in that time, it will hurt after an hour.
- Compare the balance point by sliding your finger under the tool at different spots; if it tips forward more than 2–3 inches from the handle you’ll feel torque in your wrist.
- Measure vibration by testing for one minute on scrap material; if your fingers tingle within 60–90 seconds, pick another model.
Grip shape and handle size affect how long your hands stay comfortable. Try a tool with a 1.1–1.3 inch diameter handle if you have medium hands; smaller or larger handles reduce your grip strength and increase fatigue. For example, I tested two framing nailers side by side—one felt like a baseball bat in my hand and made my forearm ache after 20 minutes, the other fit my grip and I worked for two hours without tightening my fingers.
Reduced vibration keeps your hands steady and prevents that pins‑and‑needles feeling when you’re on long runs. You can do this: hold a tool for one minute and note when numbness starts; any onset under 90 seconds means look for added dampening or a different model. A real job test: on a 200‑nail sheathing day, a low‑vibration tool kept my accuracy within a half‑inch across the whole wall.
Balance the mass close to your hand so your wrist and shoulder do less work. Try this quick test on two tools: hold each at shoulder height and time how long you can keep your elbow locked; the tool that lets you hold for 10–20% longer likely has a better center of gravity. I use that same test when choosing a tool for overhead blocking.
When you evaluate tools, follow these steps so you don’t buy something you’ll regret.
- Put the tool in a work position for 15 seconds—overhead, angled, and waist‑high—then note comfort on a 1–5 scale.
- Fire 20–30 fast cycles on scrap while holding the tool as you would on a job and watch for vibration or balance issues.
- Record weight, balance point, and whether you felt any tingling within one minute.
If you try these checks, you’ll pick tools that let you work longer with less strain.
Cost & Maintenance: Buy More Tools and Spend Less

You don’t need expensive cordless tools if you’re trying to stretch a budget.
Why it matters: buying pneumatic nailers can lower upfront and ongoing costs, so you can outfit more people or buy more specialized tools. For example, on a siding crew I worked with, switching to pneumatic nailers let the foreman buy five extra brad nailers for the same price as two cordless units, which sped up work on small trim jobs.
1) How pneumatic nailers save you money right away
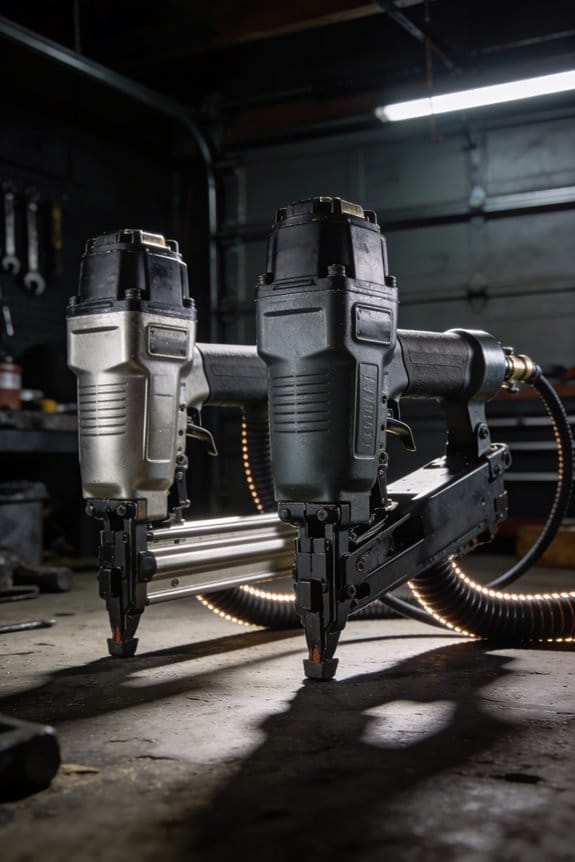
Why it matters: you get more tools for the same cash. Pneumatic guns often cost about half what cordless equivalents do; a typical pneumatic finish nailer runs $80–$150 while a comparable cordless model is $160–$300. That price gap lets you buy two or three pneumatic tools where you’d only get one cordless. On one remodel I did, buying three pneumatic framing nailers for $120 each replaced a plan to buy a single $350 cordless unit, and the crew stayed productive on multiple stations.
2) How maintenance and repairs are cheaper and simpler
Why it matters: simpler mechanics mean fewer surprise repairs and quicker fixes. Pneumatic nailers have fewer electronic parts, so you avoid circuit or battery failures; typical user-replaceable parts are O-rings, drivers, and springs that cost $5–$25 each and take 10–20 minutes to swap. For example, when a framing nailer started misfiring on a job, swapping a $12 O-ring got it back to work in 15 minutes instead of waiting hours for a warranty repair.
Steps to keep costs low:
- Buy a 2–3 gallon portable air compressor for small jobs or a 20–60 gallon unit for production, aiming for 90–120 PSI and 3–6 CFM at 90 PSI depending on nailer type.
- Keep a small parts kit: O-rings, springs, and driver blades — plan $30–$60 for spares.
- Use quick couplers and a 50–100 ft hose so multiple stations can share one compressor efficiently.
3) Why you won’t pay for batteries or charging
Why it matters: skipping batteries removes a recurring expense and downtime source. A pack of replacement lithium batteries for one cordless tool can be $80–$150 and lasts a couple of years under heavy use; pneumatic systems only need compressed air and occasional oiling. On a week-long production run, we avoided two lost workdays waiting for batteries to charge by rotating compressors instead.
4) How this affects long-term operating costs and tool choices
Why it matters: lower operating costs let you spread investment across specialized tools rather than one expensive all-in-one. If you buy multiple pneumatic specialty nailers—finish, brad, siding—you can assign them to crews and cut setup time. For instance, on a multi-house development, assigning three pneumatic finish guns to separate crews reduced cross-job sharing and saved roughly 10 labor hours per week.
Final practical tip: if you expect to work solo in remote places where compressors are impractical, consider at least one cordless unit; otherwise, buy pneumatic and budget for a mid-size compressor plus a small spare-parts kit to keep downtime under an hour.
Consistent Performance: Depth, Speed, and Runtime

If you’ve ever watched a nail sit proud or disappear below a finish, this is why consistent depth, speed, and runtime matter: they keep your joints strong and your finish looking clean.
You want the nailer to hit the same depth every time because overdriving can split wood and underdriving leaves weak joints, and that changes the strength of the entire assembly. For example, when you’re installing trim in a living room, set the depth so the head sinks flush into pine with one test nail, then drive 50 nails — they should all match that first one. Use the nailer’s depth adjustment and a scrap piece of the same material to dial it in; turn the depth knob one quarter turn, test, then fine-tune.
Pneumatic nailers give uniform air pressure, so each shot has predictable energy, and that predictability matters because it means your settings actually work across a day’s work. Picture hanging a run of baseboards: with steady pressure from a 20–60 gallon compressor, the first and hundredth nail hit the same depth. Check your compressor gauge and keep tank pressure within the tool’s recommended range (usually 90–120 psi for framing nailers); add a regulator if pressure drifts.
You also want a steady cycle time so your pace doesn’t stall and your hands don’t cramp from waiting. For instance, when shooting decking boards, a nailer that cycles in 0.2–0.5 seconds lets you move down the board without pause. If your nailer lags, check for leaky fittings, a clogged air filter, or insufficient hose diameter (3/8″ hose is a good minimum for most 15–50 ft runs).
Before you rely on runtime, you need to know how long your power source will sustain consistent performance: compressors maintain pressure, batteries drop off. On a large job like a fence, a compressor with a 30–60 gallon tank will keep you running without swapping power sources, while a battery nailer might need a fresh battery every 1–2 hours under heavy use. Plan to have an extra battery or a tank sized for continuous duty so you won’t stop mid-run.
How to make this practical (three numbered steps):
- Set depth: test on scrap, adjust the depth knob in quarter turns until the head is flush for 5 consecutive nails.
- Verify pressure: run the compressor to operating pressure, confirm the regulator reads within the tool’s spec (e.g., 90–120 psi), and watch for drops during repeated firing.
- Check cycle and runtime: fire 20 rapid shots; if the tool stumbles, inspect hoses, fittings, and filters, and ensure tank or batteries are adequate for your estimated hourly use.
A quick real example: I installed 120 linear feet of quarter-round trim using a pneumatic brad nailer on a 20-gallon compressor; I set the depth after two test nails, kept the regulator at 100 psi, swapped nothing for three hours, and the nail heads stayed uniform the whole time.
If you follow those steps, your nails will sit where you expect, your pace will stay steady, and your power source won’t surprise you.
Durability & Repairability: Keeping Tools Working on Site
If you’ve ever dropped a tool on a dusty roof, this is why.
Durability matters because every minute you spend fixing a tool is time you’re not getting paid. Pneumatic tools have fewer electronics, so they handle drops and dust better; you won’t lose a whole day to a bad circuit. I once watched a framer drop a pneumatic nailer from a scaffold; he slapped it off, swapped an O-ring, and was back in 10 minutes.
Why simpler internals help your schedule and budget: fewer electronic parts means fewer mysterious failures, and parts you can replace on site are cheap. Carrying a small kit and knowing basic checks keeps crews moving. On a remodel job I worked, we kept three kits in the van and cut repair downtime from hours to minutes.
How to perform basic field servicing (do this when the tool starts running rough or losing power). It matters because quick fixes get you back to work faster.
- Isolate air and relieve pressure. Turn the compressor off and bleed the line — 10 seconds.
- Remove the intake or nosepiece using a 10 mm wrench. Clean out debris with a rag and compressed air.
- Inspect O-rings and seals for cuts or flattening. Replace any that look nicked — O-rings cost $0.50–$3 each.
- Swap worn springs or pistons if movement feels gritty. Carry one spare spring and a spare piston sized to your tool model.
- Reassemble, re-lube with one or two drops of tool oil at the inlet, and test with 30 psi below your normal working pressure.
Parts availability and cost: this matters because fast, cheap parts mean less downtime. Replacement O-rings, springs, and pistons usually cost under $10 each and are stocked at truck-stops, local hardware stores, and online same-day suppliers. For example, the common 3/16″ nitrile O-ring used in many nailers is sold in packs of 10 for about $5.
What to carry in your on-site kit: the right kit keeps repairs under 15 minutes. I keep this exact set in a small plastic case.
- Three sizes of O-rings (packs of 10)
- One spare spring and piston for each main tool
- 10 mm wrench, adjustable wrench, and needle-nose pliers
- Shop rags, a small bottle of tool oil, and a can of compressed air
- A roll of plumber’s tape and a few zip ties
Simple diagnostics to try before you open the tool: diagnosing fast saves trips to the shop. If air leaks at the fitting, tighten the coupling and add thread tape; if the tool misfires, check the trigger linkage for debris; if power is low, drop compressor pressure 30 psi and test again to isolate the problem. I once diagnosed a framing gun that wouldn’t fire — a bent trigger pin was the culprit and we fixed it in five minutes.
Lifetime cost comparison: this matters because buying decisions affect your budget over years. Pneumatics with user-serviceable parts typically cost less to maintain than sealed battery tools that fail electronically; a rebuilt valve or a $7 O-ring keeps a tool working for years. On a 3-year subcontract, this saved our crew roughly 25% in repair/replacement expenses.
Final practical tip: practice the full repair once in the shop so you know the sequence, then keep the kit in your truck. You’ll save hours on future jobs, and the tools will stay working through the busiest weeks.
Frequently Asked Questions
Can Pneumatic Nailers Work With My Existing Compressor?
Like a key fitting a lock, yes — I’ll check your compressor compatibility and pressure requirements: confirm your compressor’s PSI and CFM match the nailer’s specs, make certain proper hose/fittings, and I’ll advise any needed adjustments.
Are Air Hoses a Major Safety Hazard on Job Sites?
They’re manageable; I wouldn’t call air hoses a major safety hazard if I enforce good practices—coil and route hoses to prevent trip hazard, use whip checks to stop hose whip, and keep walkways clear and visible.
What Types of Nails Are Compatible With Pneumatic Nailers?
Imagine a tiny marching band of nails—I’m smirking as it files past: pneumatic guns take finishing brads, framing clipped heads, full-round headed framing nails, coil roofing nails, and brad-lengths for trim, all depending on magazine and gauge.
Can Pneumatic Nailers Be Used Indoors Without Ventilation Issues?
Yes — I use pneumatic nailers indoors if I manage dust control and noise mitigation: run a HEPA vacuum or containment, wear PPE, schedule quieter hours, and use mufflers or quieter compressors to protect hearing and air quality.
How Does Insurance or Warranty Differ for Pneumatic Tools?
To cut to the chase, I find insurance coverage often treats pneumatic tools as commercial equipment with lower premiums but stricter liability clauses; warranty transferability is rare, so I’d register and keep receipts to protect claims.