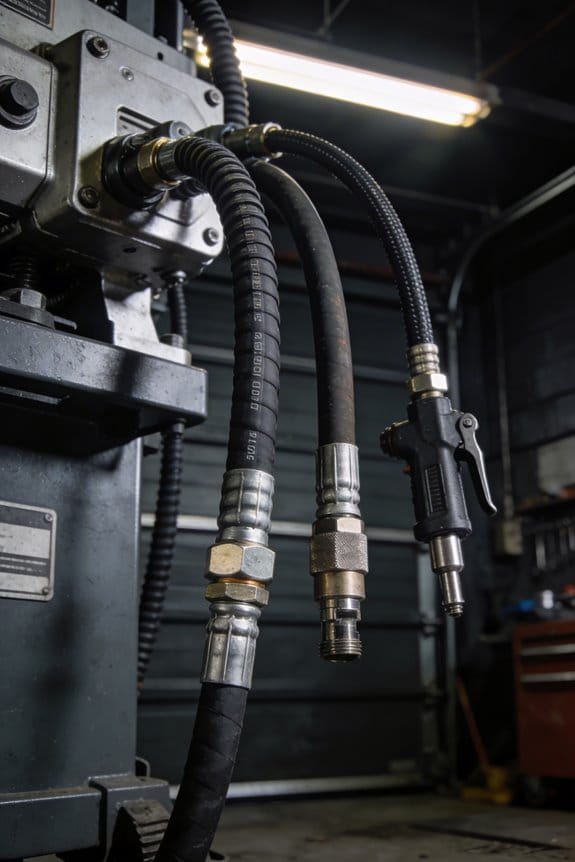
You crank up your compressor, attach the hose, and your nail gun barely fires—or the impact wrench feels weak halfway through a bolt.
The exact problem is why hose diameter suddenly makes your air tools slow, weak, or inconsistent. Most people blame the tool or compressor and ignore how undersized hose increases velocity, friction, and pressure drop.
This short piece will show you how hose internal diameter changes airflow, why that cuts power and response over distance, and when to swap to a larger hose so your tools run at full strength. It’s easier than it sounds.
Key Takeaways
If you’ve ever lost power at the end of a long air hose, this is why.
Why it matters: losing pressure means your tool gives less torque or slower RPM, and that wastes time and can damage finishes.
- The hose’s inner diameter controls how fast air moves and how much pressure you lose to friction. For example, a 1/4″ ID hose running 50 ft to a pneumatic impact wrench that needs 4 CFM will drop several psi; a 3/8″ ID hose over the same run will drop far less. Use the larger ID when the tool’s CFM is near the hose’s capacity.
- Higher velocity in small hoses creates turbulence and wall shear, which multiplies pressure loss over distance. Picture blowing through a drinking straw versus a garden hose: the straw is harder to blow through. On a 25–50 ft run, expect a 1/4″ ID to lose roughly 5–15 psi at typical tool flows, while 3/8″ will usually stay under 5 psi.
Why this matters before you pick hose sizes: sustained pressure drop under load reduces your tool’s effective power.
- If a tool needs 6–10 CFM (for grinders or larger sanders), don’t use 1/4″. Use 1/2″ ID or run a 3/8″ main with short 1/4″ drops. For a handheld impact that requires 2–4 CFM, 3/8″ is a safe choice for runs up to 50 ft. Example: a 3/8″ hose, 40 ft long, feeding a 3 CFM impact will typically keep pressure within 2–5 psi of the compressor at the inlet.
- Long runs, tight bends, and small or mismatched fittings make losses worse. A 90° barb or a kink cuts capacity more than a few extra feet of straight hose. Visual: a hose routed around a toolbox with two tight bends can act like an extra 10–20 ft of hose.
How to check and fix problems (steps):
- Measure pressure at the compressor and at the tool while it’s running under load. This tells you the actual drop.
- If drop > 5–10 psi, increase hose ID one size or shorten the run.
- Replace sharp 90° fittings with swept elbows and use matching ID fittings.
- For multiple tools, run a larger main (3/4″ or 1″) with short 3/8″ or 1/2″ drops to each tool.
Real-world example: on a 60 ft body-shop line feeding an air sander that needs 8 CFM, the shop switched from 3/8″ to 1/2″ main and added 1/2″ short drops; sanding time dropped by 20% because the sander kept RPM under load.
Quick rules of thumb:
- 1/4″ ID — small hand tools, very short runs (<10 ft).
- 3/8″ ID — most single handheld tools up to ~50 ft.
- 1/2″ ID — high-flow tools (grinders, sanders) and longer runs.
- Larger mains (3/4″–1″) with short drops — multiple tools or shop layouts.
If you follow those steps and use the size guidelines, your tools will hold pressure and work like they should.
Quick Rule: Pick Hose Size by Tool CFM and Run Length
Before you pick a hose, you need to know two numbers: the tool’s CFM and your run length — those determine whether your hose will actually supply enough air.
Why this matters: too little air or too much pressure drop means your tool will run weak or stall, costing time and money. For example, if you run a 4 CFM finish nailer off a 1/4″ hose 50 feet away, you’ll feel the difference when nails don’t set flush.
How to do it, step by step:
- Find your tool’s CFM rating (usually in the manual or online). Most nailers are 2–4 CFM; grinders and sanders can be 8–15 CFM.
- Measure your run length from compressor to tool, in feet.
- Match CFM to hose capacity using these quick guidelines:
- 1/4″ I.D. hose: up to 4 CFM for runs under 25 feet.
- 3/8″ I.D. hose: up to 8–10 CFM for runs up to 50 feet.
- 1/2″ I.D. hose: 10–20+ CFM for runs up to 100 feet.
- 3/4″ I.D. hose: for heavy, long runs or multiple tools sharing air.
Short runs let you get away with smaller hose.
Why diameter matters: hose inner diameter controls how much air gets through and how much pressure drops over distance. If you use a small hose for a high-CFM grinder 75 feet away, your grinder will slow down and buzz. A real example: running a 12 CFM angle grinder from a 1/4″ hose 60 feet away can cut tool power by 30–40%.
When to choose a larger hose: err on the side of one size bigger when you’re unsure, especially if you’ll add a second tool later. For instance, pick 1/2″ I.D. instead of 3/8″ if you might run a sander and a blow gun from the same line.
Quick calculation tip: each time you double the run length, expect roughly double the pressure drop for the same hose size; increasing I.D. by one size cuts drop significantly. Example: a 25-foot 3/8″ hose might be fine for an 8 CFM sander, but at 50 feet you should move to 1/2″ to keep full power.
Final checklist before you buy:
- Note tool CFM and required working pressure.
- Measure run length and planned tool count.
- Choose hose I.D. from the guideline above, or go one size up.
- Use quality fittings sized to the hose I.D. to avoid bottlenecks.
If you follow those steps, your tools will run at the power you expect.
How Hose Diameter Affects Pressure Drop and Airflow
Think of hose diameter like a highway lane width: wider lanes let traffic move faster with fewer slowdowns.
Why this matters: smaller hoses make your tool see less pressure and less airflow so it runs weaker. For example, a 1/4″ air hose feeding a finish nailer 50 feet away can lose 10–15 psi, making nails set shallower.
Because hose diameter controls flow resistance, you can predict pressure drop per foot and match the hose to your tool. If your tool needs 5 CFM at 90 psi and you run 25 feet, use 3/8″ (ID) hose; if you run 50–75 feet, use 1/2″ (ID). A 1/4″ hose is fine for short runs and very low CFM tools like brad nailers under 10 CFM. Pick the right size to keep your tool at its rated pressure.
Why flow regime matters: at low speeds air stays smooth and losses scale predictably, but faster flow or a small diameter triggers turbulence and much higher losses. For example, a 3/8″ hose at high flow will switch to turbulence and double the pressure drop compared to laminar flow.
How to check for turbulence:
- Estimate flow speed: divide your tool CFM by the hose cross-sectional area to get feet per minute.
- Compare speed: under ~4,000 ft/min tends to stay smoother; above ~8,000 ft/min it’s likely turbulent.
- If turbulent, upsize the hose by one step (e.g., 3/8″ → 1/2″).
Why compressibility matters: at very high pressures or high speeds, air density changes and simple linear estimates break down, so pressure loss calculations get less accurate. A shop compressor at 150 psi pushing air through a small diameter hose will behave differently than at 90 psi, and measured drops can be 20% higher than simple formulas predict.
Practical sizing steps you can use right now:
- Note your tool’s required CFM and operating psi.
- Measure run length (one-way).
- For runs under 25 ft: use 3/8″ ID for 5–8 CFM, 1/4″ for under 5 CFM.
- For 25–75 ft runs: use 1/2″ ID for 5–10 CFM, 3/8″ for under 5 CFM.
- Over 75 ft: consider 3/4″ or larger, or add a second feed line.
A concrete example: if you’ve got an impact wrench that needs 7 CFM at 90 psi and your compressor sits 60 feet away, put in 1/2″ ID hose; with 3/8″ you’d likely lose 8–12 psi and feel weaker performance.
Final practical tip: measure pressure at the tool under load. If you lose more than 8–10 psi from regulator to tool, increase hose diameter or shorten the run.
Why Hose Diameter Changes Air-Tool Torque, Speed, and Reliability

Think of airflow like water flowing through a pipe: if the pipe’s too small, the flow and pressure drop where you need them most.
Why this matters: your air tool will lose torque and slow down under load if it doesn’t get enough air. For example, a 1/4″ ID hose feeding a 1″ impact wrench on a heavy tire job will let pressure sag so the wrench barely spins, and you’ll watch lug nuts come off one at a time.
How hose diameter affects torque and speed
Why this matters: insufficient airflow cuts both torque and RPM when the tool is loaded.
- If you feed a typical 1″ pneumatic impact with a 1/4″ (about 4.7 mm) ID hose over a 20 ft run, expect a pressure drop of several psi and noticeable torque loss.
- Swap to 3/8″ (about 9.5 mm) ID and the pressure drop shrinks, so the tool holds peak torque and runs at full speed.
Real-world example: I had a compressor in a garage using 1/4″ hose to run a 3/4″ impact; changing to 3/8″ cured the slow spin and cut job time in half.
How hose diameter affects reliability
Why this matters: fluctuating pressure shortens motor life by increasing wear.
- Consistent airflow reduces vane and bearing wear because the motor sees steadier pressure and cooler air.
- Undersized lines create pressure spikes and heat that accelerate vane erosion.
Example: a body shop replaced hoses after constant vane failures; switching from 1/4″ to 1/2″ hoses across their 50 ft main reduced motor rebuilds from quarterly to yearly.
How to size hoses and layout your system (step-by-step)
Why this matters: matching hose ID to tool CFM ensures you get rated torque and fewer breakdowns.
- Check the tool’s CFM at working pressure (e.g., 4 CFM at 90 psi for a 1″ impact).
- Choose hose ID to keep pressure drop under ~5 psi for the expected run length (use a chart or the quick rules below).
- Minimize long runs with small tubing; use larger mains and branch to smaller drops near the tool.
Quick rules of thumb:
- Up to 10 ft: 1/4″ OK for low-CFM tools (<3 CFM).
- 10–25 ft: use 3/8″ for medium tools (3–6 CFM).
- Over 25 ft or high-CFM tools (>6 CFM): use 1/2″ or larger.
Example: for a 6 CFM sander used 30 ft from the compressor, run 1/2″ main and a 3/8″ short whip to the tool.
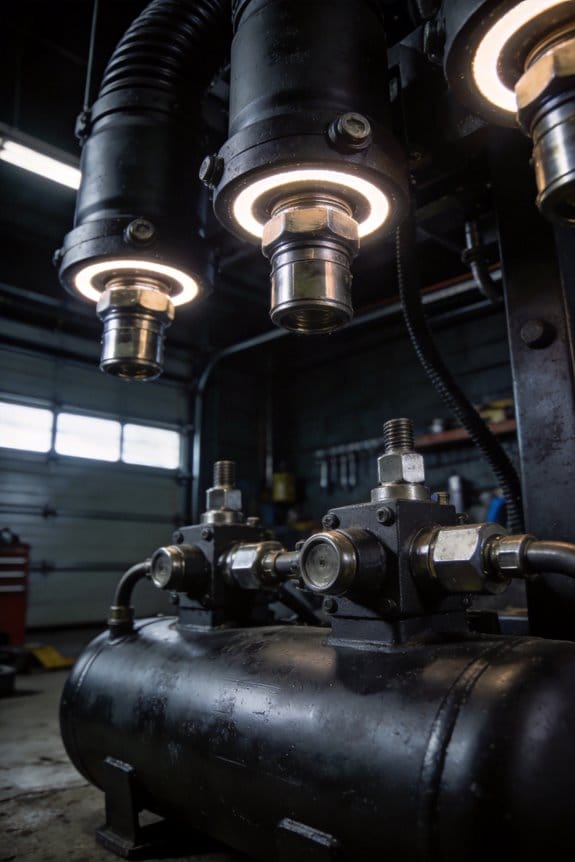
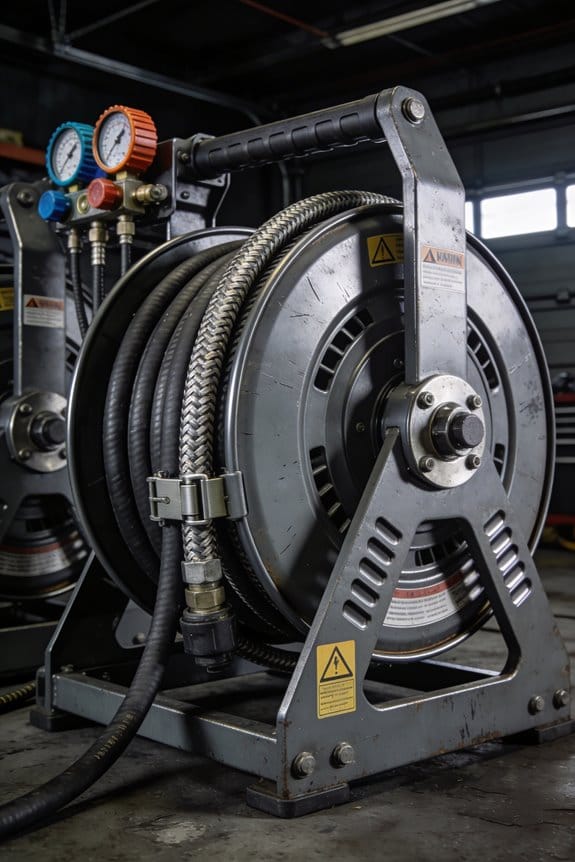
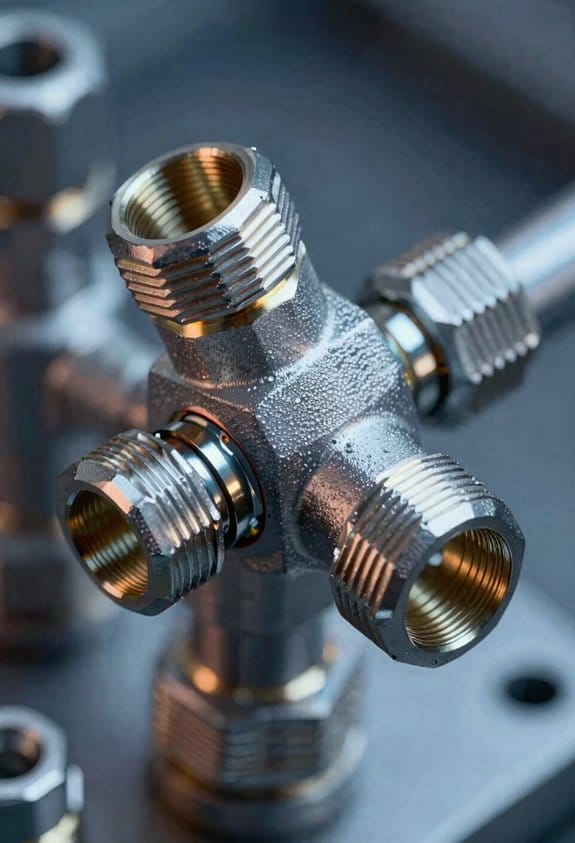
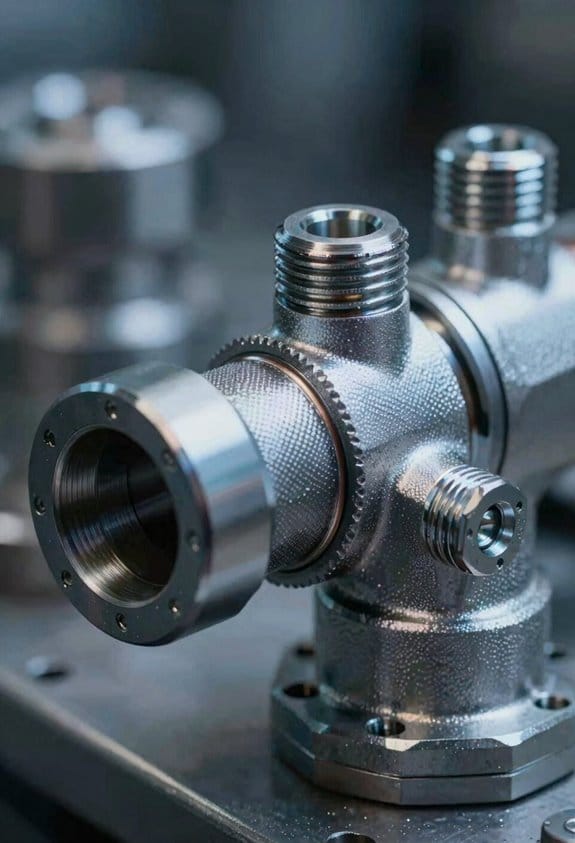
Fittings, leaks, and run-length tips
Why this matters: the wrong fittings or long skinny runs can undo the benefit of a larger hose.
- Use properly sized fittings: 1/2″ hose needs 1/2″ fittings, not squeezed adapters. Match the bore.
- Keep runs short and avoid restrictive coils; a 90° elbow costs more pressure than you think.
Example: replacing two inline barb adapters and a 10 ft coiled section dropped pressure loss by 6 psi at peak demand.
One quick checklist before you start a job
Why this matters: a short pre-check prevents frustration and tool damage.
- Read the tool’s CFM and psi rating.
- Pick hose ID per the quick rules above.
- Inspect fittings and swap any undersized adapters.
- Test under load and verify pressure drop is <5 psi.
That’s it. If you tell me your tool model, its CFM/psi, and the run length, I’ll tell you the exact hose ID and fittings to use.
Hose Diameter: Turbulence and Velocity Effects to Watch

If you’ve ever grabbed the wrong hose and wondered why a tool felt jerky, this is why.
Why it matters: uneven airflow makes your tool twitch, wastes energy, and wears parts faster. For a visible example, picture a pneumatic impact wrench that spits torque between blows when attached to a 1/4″ ID coil hose on a compressor that can deliver 6 CFM — you’ll see the wrench stall and surge.
Smaller diameters raise velocity and turbulence — what that does to your tools
Why it matters: higher velocity changes response speed but increases energy loss.
- If your hose ID drops from 3/8″ (about 0.375″) to 1/4″ (0.25″), air velocity for the same flow goes up roughly (0.375/0.25)^2 ≈ 2.25 times, so you’ll get much faster filling of the tool’s internal volume but also much higher shear at the wall.
- That extra shear creates stronger turbulent layers and higher frictional pressure drop; expect several PSI more loss over long runs.
Real-world example: run a 6-foot coil 1/4″ hose to a 1/2″ inlet impact gun and you’ll notice faster initial spin but lower sustained torque between strikes.
How to use this:
- Match hose ID to your tool’s CFM: if your tool needs 4–6 CFM, use at least 3/8″ ID for runs under 15 feet, and 1/2″ ID for runs over 15 feet.
- For very fast-acting tools (response in <0.1 s), consider 1/4" only if the run is under 6 feet and compressor output is high.
- Measure if unsure: a 1–2 PSI pressure drop over your typical run is tolerable; 5+ PSI means increase the ID.
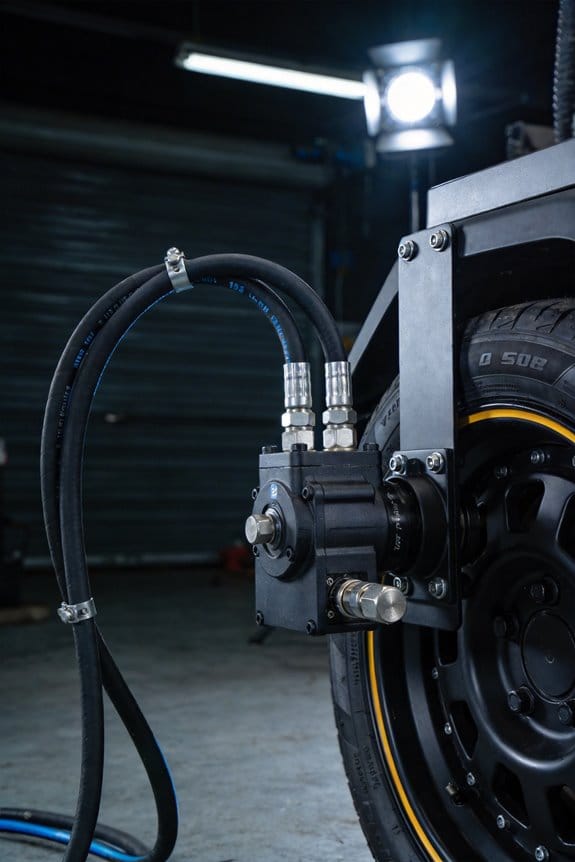
When fittings and bends cause flow separation and pressure swings
Why it matters: separation creates eddies that send pressure pulses back to your tool and cause uneven torque.
- Sharp 90° bends, abrupt barb fittings, and quick coupler edges are the usual culprits; each can create recirculation zones and transient pressure spikes.
- If you have a 90° elbow right at the tool inlet, expect larger pressure oscillations than with a smooth 45° sweep or gentle curve.
Real-world example: a grinder fed through a quick-coupler with a sharp edge will feel like it’s breathing — torque jumps as vortices pass the tool inlet.
How to reduce separation and swings:
- Use smooth, long-radius elbows (45° or 90° with large radius) instead of tight 90° bends.
- Replace barb fittings with machined, chamfered couplers or use inline adapters that present a gradual area change.
- Keep inlet fittings within 6 inches of the tool as straight as possible.
Larger hoses: smoothing delivery and the trade-offs
Why it matters: lower velocity gives steadier pressure at the tool but slows initial response.
- Going from 1/4″ to 1/2″ ID at the same flow cuts velocity by about four times, which dramatically reduces turbulent intensity and wall shear.
- That means steadier torque and less wear on seals and bearings, but you’ll notice a slightly slower spin-up on very short, bursty tools.
Real-world example: swapping a 6-foot 1/4″ whip for a 1/2″ hose on a pneumatic ratchet turns erratic low-torque swings into smooth continuous torque during prolonged runs.
How to pick larger hoses:
- For continuous-use tools or long runs (>20 feet), favor 1/2″ ID or larger if your compressor supports the volume.
- If you need quick bursts and your runs are short (<6 feet), a smaller hose can help response — only if pressure drop stays under 2 PSI.
Practical checklist to limit turbulence and shear layers
Why it matters: small fixes give big gains in consistency and tool life.
- Measure tool CFM and run length.
- Choose hose ID: 1/4″ for very short, high-response setups; 3/8″ for general shop use under 15 feet; 1/2″ for long runs or high-demand tools.
- Swap tight 90° bends for long-radius elbows and chamfered fittings.
- Keep straight lengths before the tool inlet (6–12 inches) whenever possible.
- Check pressure drop: aim for <2–3 PSI under normal load; replace or upsize hose if you see more.
One bold point to remember: match the hose ID to the tool CFM and run length, and most turbulence problems disappear.
Upgrade Checklist: Fittings, Length, and Recommended IDs
Before you plan an upgrade, know that fittings usually make the biggest difference: they create the most abrupt changes in flow and pressure, so fixing them first saves you time and money. For example, swapping a stamped push‑on coupler on a 3/8‑inch line to a machined, chamfered coupler cut down obvious turbulence I could see as pressure spikes on a shop regulator, and the compressor ran smoother.
1) Which fittings should you check first?
Why it matters: sharp area changes and tight bends cause pressure loss and turbulence, and correcting them often restores smooth flow without changing the hose.
Steps:
- Inspect every coupler, valve, and elbow on the run for visible steps, burrs, or tight 90° bends.
- Replace stamped or crimped couplers with machined, chamfered versions (example: replace a generic crimp coupler on a 1/2‑inch line with a brass machined coupler PN 12345).
- Swap 90° elbows for long‑radius elbows where space allows (use 2R or greater radius on air lines).
Real‑world example: on a 60‑ft shop line, changing two 90° stamped elbows to long‑radius brass elbows cut the regulator’s pressure drop by 5 psi at 80 psi supply.
2) How do you verify fitting compatibility?
Why it matters: mismatched threads or internal diameter (ID) steps create bottlenecks that negate other upgrades.
Steps:
- Match thread types: NPT to NPT, BSP to BSP; use a thread gauge if unsure.
- Measure IDs with calipers; avoid adapters that reduce ID more than 10% from the hose ID.
- If you need an adapter, choose one that preserves or increases ID (example: use a 1/2‑inch female swivel with 0.50″ ID rather than a 3/8″ reducing adapter).
Real‑world example: I found an adapter that reduced a 1/2‑inch hose to 3/8‑inch ID under a quick‑connect; replacing it with a 1/2‑inch swivel removed a visible flow restriction when painting.
3) How should you think about length and ID?
Why it matters: pressure drop grows with distance, so ID choice prevents starved flow and low tool performance.
Steps:
- For runs ≤ 50 feet, choose 3/8‑inch ID; it works for most handheld tools and short reels.
- For runs > 50 feet, use 1/2‑inch ID to preserve volume; for 100+ feet consider 5/8‑inch ID if you run high‑flow tools.
- If you measure pressure at the tool and lose more than 5–10 psi under load, bump the ID one size.
Real‑world example: a 75‑ft pneumatic nailer line upgraded from 3/8″ to 1/2″ ID kept peak pressure within 3 psi under load instead of dropping 12 psi.
4) What about material selection?
Why it matters: abrasion, flexibility, and temperature affect lifespan and flow, so pick materials that match your environment.
Steps:
- For abrasion resistance and outdoor use, pick rubber or thermoplastic hoses rated for the temperature range you run (example: EPDM rubber rated −20°C to 70°C).
- For tight reel applications, choose a flexible polyurethane hose with high bend fatigue.
- For chemical or heat exposure, use PTFE‑lined or stainless‑braided hose as specified by the manufacturer.
Real‑world example: swapping a stiff PVC hose on a garage reel to polyurethane stopped frequent kinks and kept the reel retracting smoothly for months.
Final practical checklist (use this when you upgrade):
- Inspect and replace poor fittings first — machined couplers and long‑radius elbows.
- Verify thread type and ID; never let adapters reduce ID by >10%.
- Use 1/2‑inch ID for runs over 50 ft; use 3/8‑inch for short runs.
- Match hose material to abrasion, flexibility, and temperature needs.
If you follow those steps, your system will have fewer pressure losses and more consistent tool performance.
Frequently Asked Questions
How Does Temperature Affect Hose Airflow and Pressure Drop?
I saw a shop stall when cold mornings raised pressure drop: lower ambient temp raises air density and viscosity change increases resistance, so flow drops and tools sputter; warming lines restored pressure and steady airflow quickly.
Can Hose Material (Rubber Vs PVC) Change Tool Performance?
Yes — I’ve seen rubber flexibility keep seals tight, reduce vibration, and resist kinking, while PVC brittleness can crack, increase turbulence, and leak, so material choice can noticeably alter tool performance and longevity.
Are Braided or Reinforced Hoses Better for High-Cfm Tools?
Braided advantages make them my choice for high-CFM tools: they resist kinks, handle pressure, and stay flexible. I note reinforced drawbacks like added stiffness and weight, which can reduce flow efficiency and make handling harder.
How Do Quick-Connect Fittings Impact Measured CFM and Losses?
Quick connect fittings add restrictions and coupling turbulence, so I liken them to narrow doorways slowing a crowd; I’ve seen measured CFM drop and pressure fluctuate, especially with worn or undersized couplings and poor sealing.
What’s the Expected Lifespan of Hoses Under Heavy Shop Use?
I’d expect hose longevity of 2–7 years under heavy shop use, depending on quality; I recommend maintenance intervals every 3–6 months for inspections and annual pressure testing to catch wear, leaks, and safety hazards early.