You just pulled rebate paperwork for a new rooftop unit and discovered the SEER2 number is several points lower than the old SEER rating — now the unit may not qualify and the code inspector is due next week. You’re asking whether to swap models, ask the manufacturer for alternate specs, or change equipment strategy to avoid failed inspections and lost incentives.
Most people assume the published EER/SEER is final and don’t check how the new SEER2 test shifts ratings or how partial-load performance affects bills. This piece will show you which numbers to verify on equipment labels, how variable-speed compressors and modular units change real-world kW use, and which sensor and staging choices preserve rebates and cut lifecycle costs.
You’ll also get a simple checklist to use during procurement. It’s easier than it looks.
Key Takeaways
If you’ve ever tried to compare air conditioners at the store, this is why.
Why it matters: SEER2 testing changed how manufacturers measure efficiency, so the number on older SEER labels can mislead you when shopping today. Example: a unit that was labeled 16 SEER under the old test might show 15 SEER2 now, or vice versa depending on test corrections, so you must check the current label.
How to do it:
- Look at the unit’s permanent label and paperwork and confirm SEER2, not SEER.
- If you only see SEER, ask the dealer for the SEER2 rating or a current AHRI certificate.
- Save the spec sheet and label photo with your purchase records.
If you’ve ever wondered how much a higher-rated unit saves, read this.
Why it matters: Higher SEER2 units drop your cooling energy and your peak monthly summer bill. Example: moving from about 14.3 SEER (older baseline) to 17 SEER2 often cuts cooling energy roughly 15–20% for a typical house in a warm climate.
How to estimate savings:
- Find your annual cooling hours (for many U.S. locales use 800–1,200 hours; use 1,000 as a quick estimate).
- Calculate baseline energy: (cooling tons × 12,000 BTU/ton ÷ 3,412) × hours ÷ SEER2.
- Repeat with the higher SEER2 and subtract to get kWh saved.
- Multiply kWh saved by your electricity rate to get annual dollar savings.
For example: a 3-ton system (36,000 BTU) running 1,000 hours at 14.3 SEER uses ~2,517 kWh; at 17 SEER2 it uses ~2,116 kWh — about 401 kWh saved, which at $0.15/kWh is ~$60 per year.
Before you sign for rebates or meet code, check this.
Why it matters: Utilities and code programs now reference SEER2, so rebate eligibility and compliance depend on it. Example: a local rebate might require 16 SEER2 minimum, so buying a 16 SEER (old test) unit could disqualify you.
Steps to pre-qualify:
- Check the utility rebate rules online and note the SEER2 cutoff.
- Ask the installer for the exact model number and get the AHRI or manufacturer SEER2 cert before purchase.
- Submit any pre-approval forms the utility requires, and keep the confirmation.
If your cooling load varies a lot during the day, consider this.
Why it matters: Variable-speed drives cut energy at partial load and give better comfort control, so you’ll run quieter and have fewer temperature swings. Example: on mild evenings your system might only need 30–40% capacity; a variable-speed unit will run at that level instead of cycling on and off.
How to decide:
- Compare the unit’s part-load efficiency (EER or SEER2 partial-load numbers) and look for variable-speed compressors or ECM blowers.
- Ask the contractor for an estimate of partial-load kW reduction (many systems cut 30–50% at low speeds).
- Weigh the extra upfront cost against annual savings and comfort gains.
Think of upgrading one tier like stepping up a rung on a ladder.
Why it matters: Upsizing one efficiency tier is often the most cost-effective way to save energy without overspending on premium models. Example: moving from a standard model to the next efficiency tier usually raises purchase cost by a few hundred dollars but can deliver several years of payback.
How to evaluate:
1. Get at least two quotes for the same capacity: current tier and one tier higher.
2. Run a simple payback:
- Annual savings (from the SEER2 kWh method above).
- Payback years = extra cost ÷ annual savings.
3. Choose the option with acceptable payback and a contractor who will honor performance.
Final practical tip: always get alternate quotes, confirm SEER2 on paperwork, and keep copies of rebate docs and the unit label.
SEER2 Changes: What Small Shops Must Do Now
Before you pick equipment, know this matters because SEER2 changes which units qualify for minimums and rebates.
SEER2 rewrites how cooling efficiency is tested, so a unit that hit SEER 16 before may show SEER2 14 after retesting. For example, a 3-ton rooftop unit that was labeled SEER 16 last year tested at SEER2 14.5 this year and missed a local rebate by 0.5 points. Check your model numbers against the manufacturer’s SEER2 spec sheet.
Why SEER2 affects your costs right now: higher SEER2 ratings usually mean lower energy use, and rebates or codes may now require those higher numbers.
1) Check local rules:
- Step 1: Call your state energy office or check your utility’s HVAC rebate page. Example: the California IOU list shows specific SEER2 cutoffs by county.
- Step 2: Note the minimum SEER2 required for rebates and for code compliance in your area.
- Step 3: Save screenshots or PDF of those program pages for your filing.
How SEER2 changes equipment choices: you’ll often need a different model or add a variable-speed option to hit target SEER2 numbers.
1) Compare models:
- Step 1: Ask manufacturers for SEER2 labels, not old SEER.
- Step 2: If your chosen unit drops below target under SEER2, ask for an alternate spec or consider upsizing by one efficiency tier (e.g., from SEER2 14 to 15).
- Step 3: Get cost quotes for the alternate unit and record the projected energy savings.
Incentive navigation to lower your upfront expense matters because rebates often cover a chunk of the premium for higher-efficiency units.
1) Capture rebates:
- Step 1: Identify utility rebates and federal tax credits that specify SEER2 ratings.
- Step 2: Pre-qualify the job: confirm equipment, installation practices, and paperwork requirements with the rebate administrator.
- Step 3: Submit applications before final install when required; keep serial numbers and receipts.
Operational planning: balance purchase price with estimated energy savings so you don’t overspend on features you won’t recoup.
1) Run a payback check:
- Step 1: Estimate annual cooling hours for your location (example: 1,200 hours/year in Phoenix for a small shop).
- Step 2: Calculate annual energy use difference between the current unit and the SEER2 model (use manufacturer kW and duty hours).
- Step 3: Divide the net upfront premium by annual energy cost savings to get payback years.
Quick checklist to avoid compliance gaps:
- Confirm local SEER2 minimums and rebate thresholds.
- Get SEER2 spec sheets from manufacturers.
- Pre-approve rebates and file required paperwork early.
- Run a simple payback with local hours and energy cost.
- Keep copies of all program rules and receipts.
A practical example: a small auto shop in Phoenix switched from a 12-SEER legacy unit to a SEER2 15 unit after confirming a $500 utility rebate and estimating 1,200 cooling hours; the shop cut annual cooling costs by roughly $420 and recovered the premium in under three years.
If you want, send me the make/model you’re considering and your utility name and I’ll check likely SEER2 impacts and any visible rebates.
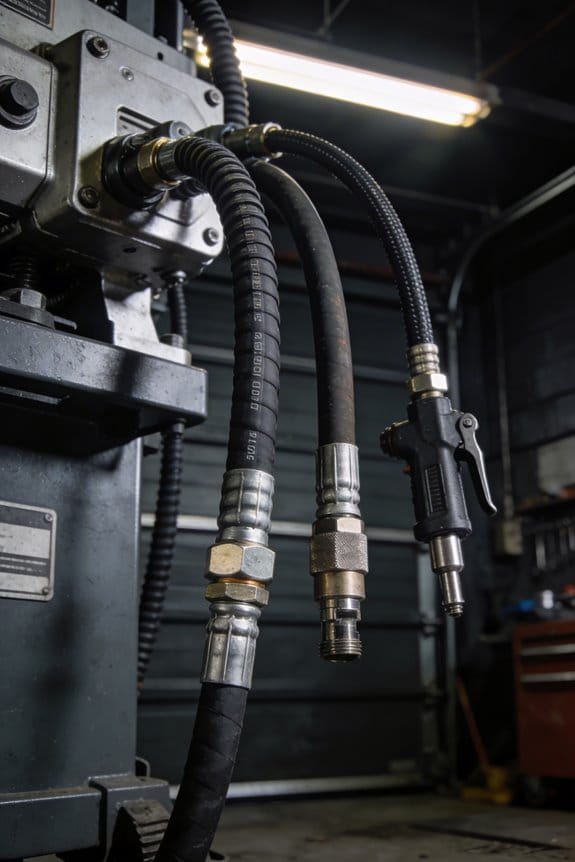
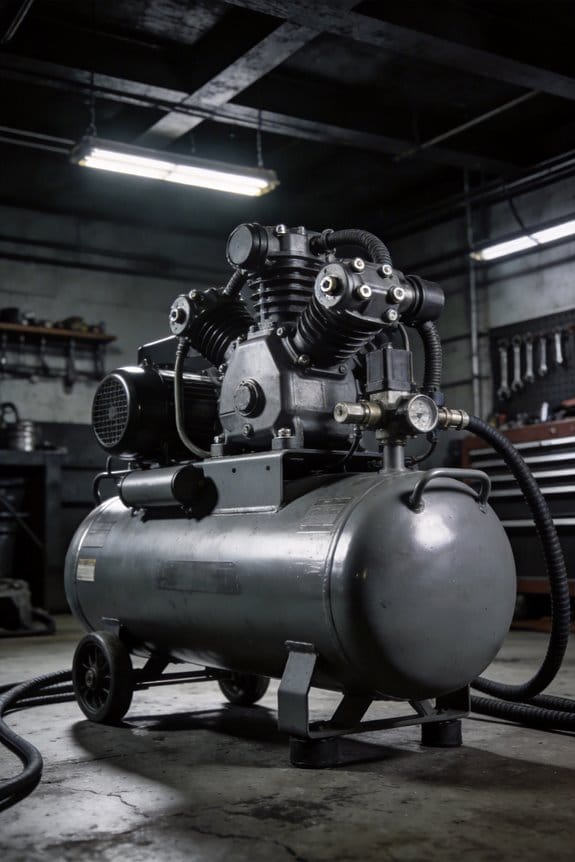
When to Choose VSD Compressors for Small Systems
Before you choose a VSD compressor, know why it matters: matching compressor speed to your shop’s actual air demand can cut electricity use and extend equipment life.
If your shop has variable load during the day, pick a VSD. VSDs modulate motor speed to match demand, which typically reduces kW draw at partial loads and smooths airflow compared with fixed-speed units. Example: a small auto-repair garage that runs tools heavily from 8–10 a.m., lightly mid-day, then again 4–6 p.m. can see motor power drop by 30–50% during light periods, lowering bills.
You’ll face higher startup cost, so run a payback check before buying. Why this matters: a wrong choice wastes money upfront and gives you no operating savings. Do this simple analysis:
- Measure average kW draw at full and partial load for a week (handheld power meter or utility data).
- Calculate hours spent at each load level.
- Estimate annual energy cost difference using your electricity rate (kW × hours × $/kWh).
- Compare the annual savings to the price premium for VSD to get payback years.
Example: a 10 kW fixed-speed unit replaced by a VSD that uses 7 kW on average during partial-load hours, with 1,000 partial-load hours per year and $0.12/kWh electricity, yields savings = (10–7) × 1,000 × $0.12 = $360/year.
If your runtime is long and loads swing, a VSD often pays back in a reasonable time. If loads are steady and cycles are short, a fixed-speed compressor may be smarter because the payback will be long and the VSD’s mechanical complexity isn’t justified. Example: a small shop that runs a compressor only in 5–10 minute bursts several times an hour usually sees little VSD benefit.
One practical tip: run a basic duty-cycle analysis before committing. Why this matters: the analysis gives a clear dollar-based decision instead of a guess. Steps:
- Log run times and load levels for one typical week.
- Use the worksheet above to calculate yearly savings.
- Factor in maintenance differences (VSDs can reduce start/stop wear).
If you want, I can help you run the numbers — tell me your typical daily run hours, estimated full and partial kW, and your electricity rate.
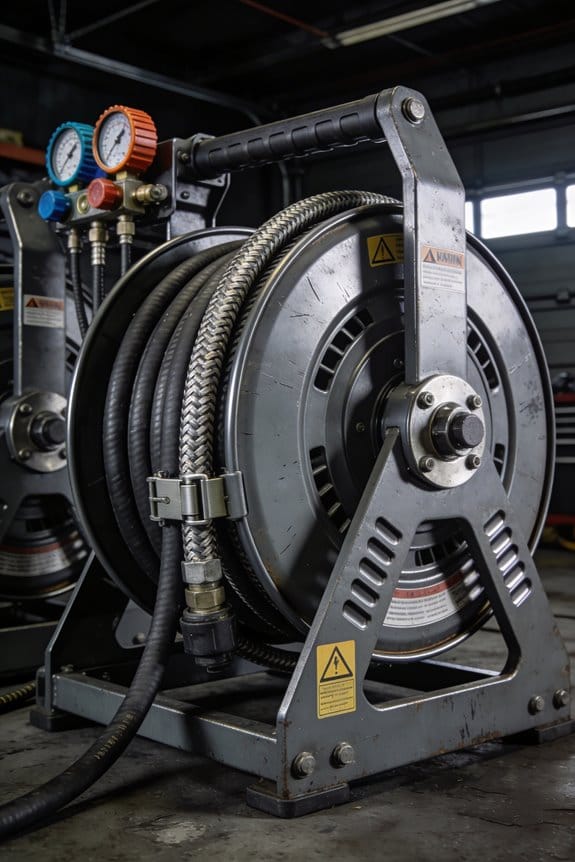
Smart Monitoring: Benefits, Costs, and Vendor Criteria
If you’ve ever had a machine fail mid-shift, this is why.
Why it matters: smart monitoring cuts surprise downtime and gives you predictable maintenance costs in plain numbers. I recommend installing cloud-connected sensors that measure pressure, flow, temperature, and energy use because continuous data lets predictive analytics flag issues before they become failures. For example: a plastics shop I worked with fitted pressure and temperature sensors to two compressors; within three weeks the analytics spotted a gradual pressure drop and they replaced a leaking hose during a planned break, avoiding an emergency repair that would have cost them two days of lost production and about $6,000. Expect upfront hardware and installation costs of roughly $1,500–$4,000 per monitored machine and monthly cloud/analytics subscriptions of $20–$100 per machine depending on data frequency.
Before you choose a vendor, you need to know what to ask.
Why it matters: the right vendor keeps your data safe and your systems running. Ask for these specific things:
- Uptime guarantee: a written SLA of 99.5% or higher.
- Data security: AES-256 encryption in transit and at rest, plus SOC 2 or ISO 27001 compliance.
- Open protocols: support for MQTT, OPC UA, or REST APIs so you can switch platforms later.
- Dashboard usability: a demo where one of your technicians completes three tasks in under five minutes (set an alarm, view last 24 hours, export CSV).
- Support terms: phone response within 2 hours and on-site tech within 48 hours for agreed issues.
A real-world example: a mid-sized food plant picked a vendor after testing two dashboards; their operators completed the demo tasks in under three minutes and the plant saw filter-change alerts cut part costs by 30% in six months.
How to set up sensors and get value quickly.
Why it matters: small, specific steps lower cost and show ROI fast. Follow these steps:
- Start small: pick 1–3 critical machines (compressor, dryer, vacuum pump).
- Install sensors: pressure, temperature, and an energy meter on each; plan 2–4 hours per machine for installation.
- Configure alerts: set thresholds tied to your OEM specs or current normal ranges.
- Run a 30-day baseline: collect continuous data to tune thresholds.
- Move to predictive rules: enable anomaly detection after baseline looks stable.
Example: a metal fab shop monitored one dryer first, set a 10% drop-in flow alert, and scheduled maintenance the next week; they avoided a clogged desiccant bed that would have halted one shift.
Costs and how to budget them.
Why it matters: clear numbers let you decide without guesswork. Typical cost breakdown:
- Sensors & gateways: $1,500–$4,000 per machine.
- Installation: $200–$800 per machine if you hire a technician.
- Cloud subscription: $20–$100 per machine per month.
- Optional analytics add-on: $500–$2,000 per month for fleet-level AI.
One shop amortized sensor and installation costs over 24 months and found monthly savings from reduced parts and labor covered those payments within 9 months.
What to prioritize when scaling.
Why it matters: prioritizing cuts wasted spend and keeps staff engaged. Focus on:
- Modular systems so you add sensors one at a time.
- Role-based dashboards so operators see only what they need.
- Regular review cadence: schedule a 30-minute monthly meeting to review alerts and adjust thresholds.
Example: a bakery scaled from one oven to eight machines over a year by adding one sensor per month and keeping monthly reviews to 30 minutes, which prevented alert fatigue and improved adoption.
Final practical tip.
Why it matters: small habits make monitoring stick. Train one technician as your go-to person, give them a 2-hour vendor walkthrough, and make them the only one who adjusts alert thresholds. That creates consistency and keeps your monitoring effective.
IAQ for Small Shops: Filtration, ERV/HRV, Moisture Control
If you’ve ever opened a dusty box in a small shop and started sneezing, this is why.
Improving your shop’s air matters because cleaner air reduces dust, allergies, and condensation problems. Start with filters, because they remove the particles you’ll breathe. Example: a woodworker switched from a basic fiberglass filter to a MERV 13 and saw visible dust on surfaces drop within a week. Steps:
- Check your HVAC or fan rating.
- Try a MERV 11 first; if the fan runs fine for 24 hours, move to MERV 13.
- If the fan struggles, use a HEPA portable unit near workbenches.
Tip: label the filter slot with the date and replace every 3 months or monthly if you sand or cut a lot.
Before you add balanced ventilation, know why you need it: bringing in fresh air without wasting heat or creating humidity problems. An ERV or HRV recovers heat (and sometimes moisture) while supplying outdoor air. Example: a bakery in a cold town used an HRV through winter and kept ovens from making the space stifling while reducing heating costs. Steps:
- Choose an ERV in moderate climates and an HRV in cold climates.
- Size it for about 0.35 air changes per hour for a small shop, or use the local code CFM per person if that’s higher.
- Install balanced ducting so supply and exhaust match within ±10% of each other.
If you can’t install ducted units, use a window-mounted supply fan and a matching exhaust to mimic balance.
Before you chase humidity control, know the goal: the right humidity limits mold and dust and keeps finishes curing properly. Aim for 40–50% relative humidity in most shops. Example: a print shop found curled paper when RH dropped to 25%, and once they used a small humidifier to hold 45% the problem stopped. Steps:
- Buy a hygrometer and put it where you work.
- If RH drops below 35% in winter, add a humidifier sized for your room volume.
- If RH rises above 55%, add dehumidification or increase ventilation.
Also check for water leaks and dry storage for hygroscopic materials.
- Combine strategies sensibly because one approach won’t solve everything. Use upgraded filters plus balanced ventilation plus humidity control where needed. Example: an electronics repair shop added a HEPA portable near workstations, installed an ERV, and kept RH at 45%, which reduced static shocks and dust on circuit boards.
- Monitor and adjust. Log filter changes, record hygrometer readings weekly for a month, and note any fan strain noises.
- Keep maintenance simple: replace filters on schedule, clean ERV cores every 6–12 months, and empty humidifier tanks weekly.
Quick checklist to get started:
- Check fan capacity and try MERV 11, then MERV 13. Replace filters every 1–3 months.
- Pick ERV for moderate climates, HRV for cold climates; size to ~0.35 ACH or local CFM rules.
- Buy a hygrometer and aim for 40–50% RH; add humidifier or dehumidifier as needed.
- Label dates, keep a small log, and inspect for leaks.
If you want, tell me your shop size, main activities (sanding, baking, printing, etc.), and climate and I’ll suggest specific filter models, ERV/HRV capacities, and humidifier/dehumidifier sizes.
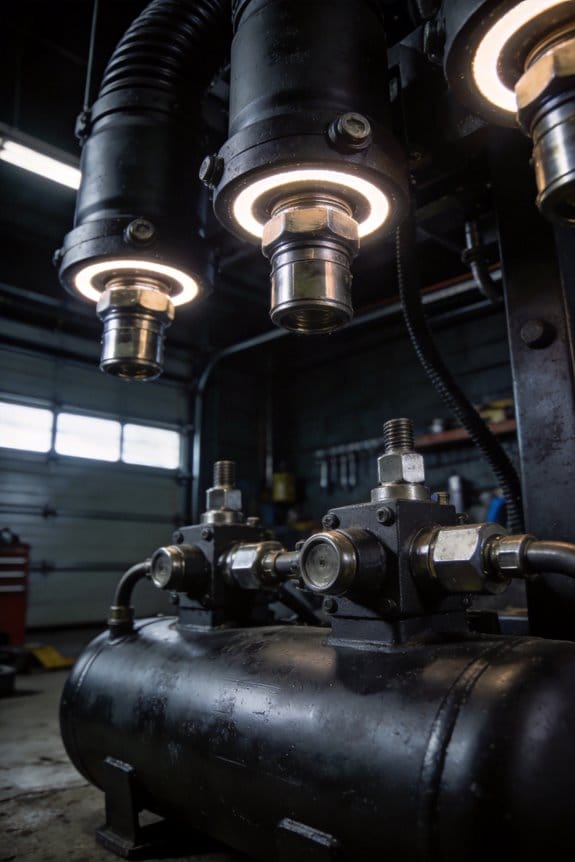
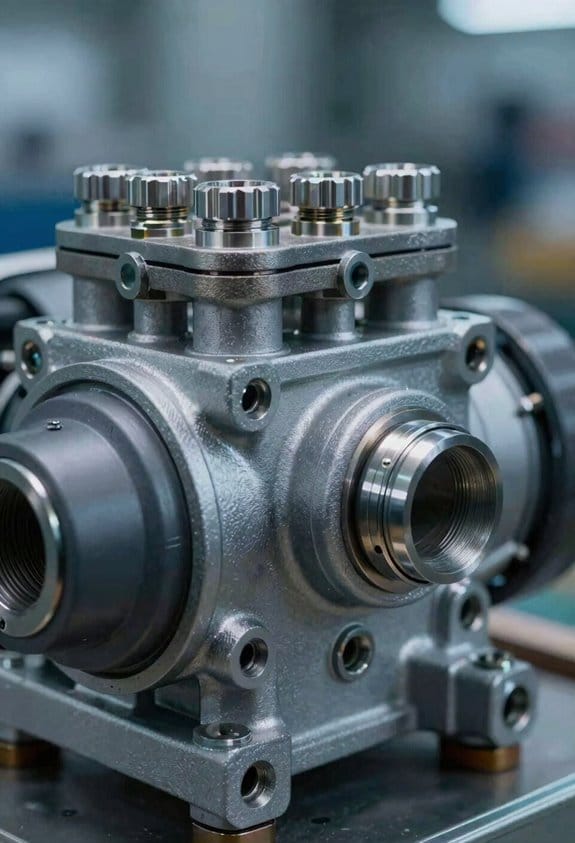
Modular HVAC: Scale Capacity With Parallel Compressors

Here’s what actually happens when you size a heating and cooling system with multiple compressors working together: it keeps your shop running even if one compressor quits, and it gives you a clear path to grow capacity without replacing the whole unit.
Why this matters: you avoid complete downtime and cut repair costs.
How parallel compressors work (real-world example: a 2,400 sq ft woodworking shop)
- You split cooling into smaller modules — for example, four 3-ton compressors instead of one 12-ton unit.
- Controls monitor temperature and humidity and cycle compressors so only the number needed runs.
- If one compressor fails, the other three provide 75% capacity while you schedule a repair.
That woodworking shop can stay open for light production at 75% comfort while waiting for a part.
How this improves efficiency and maintenance
Why this matters: staged operation reduces wear and spreads run-time across units.
- The control logic stages compressors to match load in 3-step increments (25%, 50%, 75%, 100% for a four-compressor setup).
- Reduced cycling per compressor extends life — each compressor might see 20–30% fewer start cycles.
- Technicians can isolate and swap a single module in about 1–2 hours instead of hours to replace a single large compressor.
Example: a small grocery receiving area used to lose all cooling for a day when a single 10-ton unit failed; swapping a 2.5-ton module now takes a morning and keeps most of the space at target temperature.
Installation and scaling steps you can follow
Why this matters: planned steps let you scale capacity without surprises.
- Assess current load: measure peak cooling in BTU/hr or tons; for many small shops, 1 ton cools ~400–600 sq ft depending on insulation.
- Decide module size: pick modules (e.g., 2–4 tons) so adding one increases capacity by a useful fraction (20–33%).
- Design controls: specify a controller that stages compressors by setpoints and rotates lead compressors monthly to equalize wear.
- Plan piping and electrical so modules can be isolated — use isolation valves and individual circuit breakers.
- Schedule commissioning: run a two-week test with staged loads and log temperature swing, start cycles, and run hours.
Example: if your 1,800 sq ft store needs ~3.5–4.5 tons, choose two 2-ton modules now and leave space/electrical for a third module later.
Service and troubleshooting tips you’ll use
Why this matters: simple checks let you avoid expensive service calls.
- Check controller logs for compressor run hours and fault counts.
- Verify supply/return temps and each compressor’s suction and discharge pressures.
- Isolate a module with its service switch to test others live.
Example: a café found one compressor hitting high discharge pressure; swapping it out and running the remaining compressors kept the kitchen cool during evening service.
Quick cost and upgrade realities
Why this matters: modular lets you stage spending and reduce single-point replacement costs.
- Upfront: modular systems can cost 5–15% more in materials and controls than a single unit the same total capacity.
- Long term: you typically save by replacing only failed modules (one module vs entire unit), and you avoid lost business during downtime.
- Upgrade path: add a matched module and update control settings; most installs let you add a module in a few hours if wiring and piping are pre-stubbed.
Example: replacing one 3-ton module at $3,000–$5,000 vs replacing a 12-ton compressor that could cost $12,000–$20,000.
Final practical takeaway: design your next small-shop HVAC so each module is a usable fraction of total capacity, add isolation and rotation controls, and you’ll make repairs faster and scale capacity with predictable steps.
SEER2 & ROI: Energy Savings, Incentives, and Payback Timeline
Before you upgrade your small-shop split system, you need to know how the numbers affect your wallet.
When you move from about 14.3 SEER2 to 17 SEER2, you’ll cut cooling energy use by roughly 15–20 percent, so your monthly bills drop accordingly. For example, if your summer electricity bills average $200 a month, expect savings of about $30–$40 per month in peak months, which adds up fast.
Why this matters: those bill savings are the core of calculating your return on investment (ROI). I estimate annual savings of about $150–$250 in hot regions; for instance, a bakery in Phoenix that spends $1,800 a year on cooling might save $200 annually after the upgrade. Use that annual figure to compare against your upfront costs.
How to calculate payback (step-by-step):
- Add purchase and installation costs. If the new unit plus install is $3,500, start with that number.
- Subtract any rebates you know you’ll get. If you qualify for a $500 rebate paid after inspection, count it but track timing.
- Divide the net cost by annual energy savings. With $3,000 net cost and $200 yearly savings, payback is 15 years.
- Factor in annual maintenance and expected lifespan. Add about $100/year for servicing and assume 15–20 years life to see lifecycle cost.
Rebate timing matters because it changes your effective payback. Some rebates are instant at purchase, while others arrive months after you submit proof; for example, a utility might mail a $500 check 90 days after inspection, which delays when you actually recoup costs. If your rebate is delayed, your short-term outlay is higher and your cash-flow payback takes longer, even if the final ROI number stays the same.
Include lifecycle costing since electricity often dominates lifetime expense. For a concrete case, imagine a small retail shop that pays $1,200/year for cooling now and expects energy to rise 3% annually; projecting that over 15 years changes the savings and shortens payback compared with using a flat-rate estimate.
Quick checklist to decide if you should upgrade:
- Get current annual cooling cost from bills.
- Estimate percent savings (use 15–20% for 14.3 → 17 SEER2).
- Get a firm quote for unit + installation.
- Confirm rebates and their timing.
- Run the payback calculation above and add $100/year maintenance.
If your payback comes in under the expected equipment life, the upgrade usually makes financial sense; if not, you may wait or seek bigger rebates.
Frequently Asked Questions
How Do SEER2 Changes Affect Paint Booth Ventilation Compliance?
SEER2 impacts ventilation compliance by changing baseline efficiency requirements; I’d verify that higher SEER2 equipment still meets required airflow, pressurization, and make-up air rates, or adjust fans, controls, or permits to comply.
Can VSD Compressors Integrate With Legacy Thermostats?
Yes — I can integrate VFD compatibility with many legacy thermostats using thermostat adapters; I’ll map control signals, add relays or communication gateways, and test setpoints so the VSD responds smoothly without replacing your existing thermostat.
What Cybersecurity Risks Come With Cloud-Connected HVAC Monitoring?
Cloud vulnerabilities expose systems to remote intrusion, data theft, and lateral attacks; I worry firmware integrity compromises can enable persistent backdoors, so I’d enforce secure cloud configs, signed firmware updates, strong auth, and network segmentation.
Are There Rebates for Duct Cleaning or IAQ Upgrades?
Yes — I’ve found Utility rebates and Tax incentives often cover duct cleaning and IAQ upgrades; I’d check local utility programs, state tax credits, and federal incentives to confirm eligibility and stackable savings before scheduling work.
How Do Modular Systems Affect Equipment Insurance Premiums?
Like adding puzzle pieces that steady the picture, I’ve found modular insurance often lowers premium impact because redundancy and reduced failure risk appeal to underwriters; I’d highlight documented reliability, predictive monitoring, and load‑sharing to negotiate better rates.