You’re on a job where a stubborn, rusted bolt won’t budge and your battery-powered impact keeps laboring and slowing down. You ask yourself: why do some pros still pull out pneumatic tools for moments like this instead of relying on cordless gear?
Most people assume cordless tools are simply powerful enough now, and they forget how peak torque, heat, and stall behavior change performance under heavy, repeated loads.
This article will show when a pneumatic setup actually finishes the job faster, how lighter air tools reduce fatigue on long days, and how to size and maintain a compressor so your crew gets reliable, repeatable impacts.
You’ll walk away knowing which tasks deserve pneumatic tools and how to set up one for dependable jobsite use. It’s simpler than you think.
Key Takeaways
If you’ve ever wrestled with a rusty bolt that won’t budge, this is why.
Why pneumatic tools beat cordless for stubborn fasteners
- Why it matters: You need fast, repeated impacts to free stuck bolts without burning out a motor.
- How it works, simply: pneumatic impact wrenches deliver higher peak torque and much faster impact rates than most battery tools, so a seized 1/2″ lug nut comes loose faster.
- Real-world example: on a truck axle job, an air impact at 800–1,200 ft·lb peak torque can snap a corroded 3/4″ nut loose in seconds while a typical brushless battery tool stalls.
- Steps to use:
- Set compressor to 90–100 psi for a 1/2″ impact wrench.
- Use a 3/4″ socket rated for impact.
- Apply short bursts until the fastener moves.
Air tools feel lighter and run cooler
- Why it matters: Less fatigue means you work longer without mistakes.
- How it works, simply: pneumatic tools usually weigh 20–40% less than equivalent cordless models and don’t heat their motors the same way, so your grip stays steady during repetitive fastening.
- Real-world example: changing HVAC ductwork screws with a lightweight air screwdriver for a full afternoon reduces wrist strain compared with swapping 4 batteries into a heavy cordless driver.
- Steps to use:
- Choose a tool that’s under 3.5 lb for extended overhead work.
- Keep the handle grip dry to reduce slippage.
A single compressor can cut your tool costs per hour
- Why it matters: You want to lower operating cost and keep multiple workers productive.
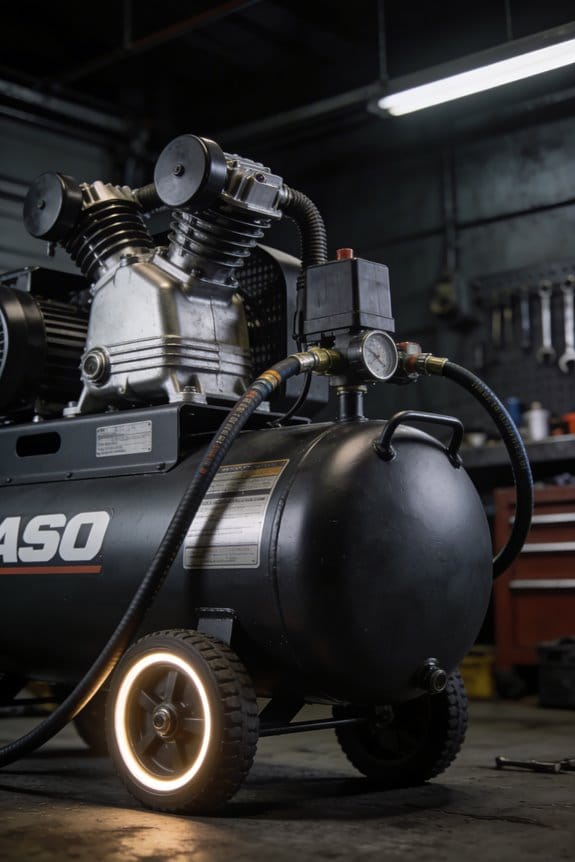
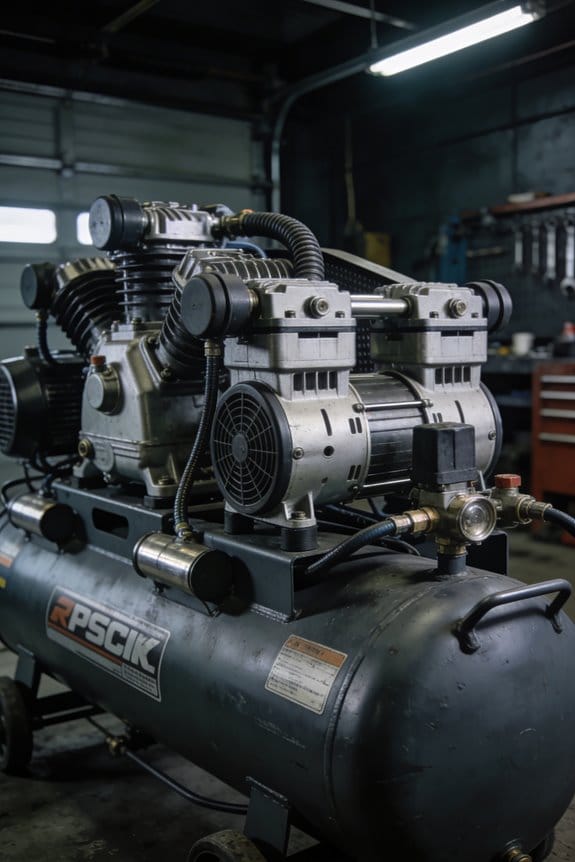
- How it works, simply: one 60–80 gallon compressor with a 10–15 cfm output at 90 psi can run several tools at once, so you don’t buy a separate battery and charger for every worker.
- Real-world example: on a siding job, two impact guns and a nailer fed from one compressor kept three installers working without swapping batteries.
- Steps to use:
- Match compressor cfm to simultaneous tool demand (add up tool cfm and add 20% reserve).
- Use a 3/8″ or 1/2″ hose sized for the run to avoid pressure drop.
Pneumatics handle continuous duty with less downtime
- Why it matters: You want fewer stops for charging so jobs finish faster.
- How it works, simply: air tools run continuously as long as the compressor has fuel (air), unlike batteries that need swap and charge cycles.
- Real-world example: in a drywall screw-line, a crew using an air drywall screwdriver can keep pace all day, while cordless users stop every hour to swap batteries.
- Steps to use:
- Keep spare hoses and a quick-connect manifold on hand for fast tool changes.
- Monitor compressor run cycles to avoid overheating—follow the tank’s rated duty cycle.
Control moisture and pressure for consistent performance
- Why it matters: You want tools to behave predictably so every fastener gets the same result.
- How it works, simply: on-site filtration and regulators remove moisture and let you set exact pressure, which keeps tools from rusting and maintains torque output.
- Real-world example: a framing crew added an inline filter/regulator/lubricator and stopped seeing rusted nailer jams after rainy morning starts.
- Steps to use:
- Install an FRL (filter/regulator/lubricator) near the compressor and another regulator at remote drops.
- Drain condensate daily and set regulator to each tool’s recommended psi (usually printed on the tool).
Pneumatic vs Electric: When to Choose Air Tools
Before you pick a tool, know what the job actually needs and why that matters: power delivery, duty cycle, and the conditions you’ll work in will decide whether you grab an air or electric tool.
If you need continuous work without interruptions, choose pneumatic tools because compressors provide steady output and you won’t swap batteries every hour. Example: when you’re decking a 500 sq ft patio and driving thousands of nails, a compressor running at 90–120 psi will keep a framing nailer firing for hours. Steps: 1) Size your compressor to at least 5–7 CFM at 90 psi for framing; 2) use a 30–60 gallon tank for longer runtimes; 3) check hose diameter—3/8″ for short runs, 1/2″ for runs over 25 feet.
Electric tools win for single-tool, low-duty work because they use less overall energy and are easier to move around. Example: if you’re assembling IKEA furniture or cutting a few dozen boards, a 20V cordless drill with a 2–4 Ah battery usually lasts the job. Steps: 1) pick a battery that matches your expected runtime (2 Ah ≈ light tasks, 5 Ah ≈ heavy use); 2) keep one spare battery charged; 3) use brushless motors for better efficiency and longer lifespan.
Compare noise and hearing protection because compressors and pneumatic tools can be loud at close range; protect your ears. Example: a typical pancake compressor runs around 70–80 dB, and impact wrenches can hit 95–100 dB. Steps: 1) measure noise if unsure (smartphone apps work fine); 2) wear NRR 25–30 earplugs or earmuffs; 3) limit continuous exposure to under 8 hours at 85 dB.
Evaluate torque and heat before you commit—this affects performance on stubborn fasteners. Pneumatic tools deliver high torque in short bursts and run cooler, so they stall less on heavy jobs. Example: removing lug nuts during repeated wheel changes—an air impact at 300–400 ft·lb will finish faster and stay cool. Steps: 1) match tool torque rating to the task; 2) keep an inline oiler on pneumatic lines; 3) let electric tools rest after repeated heavy loads to avoid overheating.
Consider energy efficiency and total setup because compressors can be more efficient when multiple tools run from one source, while electrics are simpler for solo tasks. Example: a workshop running a nailer, grinder, and spray gun can share a 10–15 CFM compressor, cutting per-tool energy waste. Steps: 1) list the tools you’ll run simultaneously; 2) add their CFM needs and size the compressor 20–30% higher; 3) include pressure drop over long hoses in your calculation.
Match your choice to task frequency, site safety, and maintenance ability because those practical factors change what tool makes sense for you. Example: on a remote jobsite with no power, gasoline-powered compressors or cordless electrics are the only options; a small compressor requires daily oil checks while batteries need proper storage. Steps: 1) check site power availability; 2) budget for maintenance—oil, filters, and hose replacements for pneumatics or spare batteries and chargers for electrics; 3) follow manufacturer service intervals.
If you follow these points, you’ll pick the right tool faster and avoid surprises on the job.
How Pneumatic Power Gives More Punch in Lightweight Tools
Think of torque like a punch and speed like how fast you can jab.
Why this matters: if you work on cars or equipment, getting stubborn bolts loose faster saves you time and energy. I’ll show you the practical differences so you can pick the right tool.
How pneumatic tools make more punch
Pneumatic tools use compressed air to drive a motor, so most of the motor’s power goes straight to the output** instead of being eaten by batteries or heavy housings. For example, a compact 1/2″ air impact wrench running at 90 psi can deliver 400–600 ft‑lbs of peak torque while weighing about 3–4 pounds, which is a lot for a tool you can hold all day. That direct energy transfer also produces very fast impact rates — often 3,000–4,000 impacts per minute — that break loose rusted or over‑torqued fasteners quicker. Imagine changing a flat tire** at a roadside: one or two quick bursts and the lug nuts move, so you spend minutes instead of ten or twenty.
Real-world steps to use this advantage
- Set your compressor to 90–100 psi for a 1/2″ wrench and use a 3/8″ or larger air hose to avoid pressure drop.
- Choose a socket rated for impact use and secure it on the anvil.
- Apply short bursts of trigger, then back off to check progress — don’t hold full throttle the whole time.
Do this and you’ll reduce fatigue and cycle time.
Why electric tools feel heavier
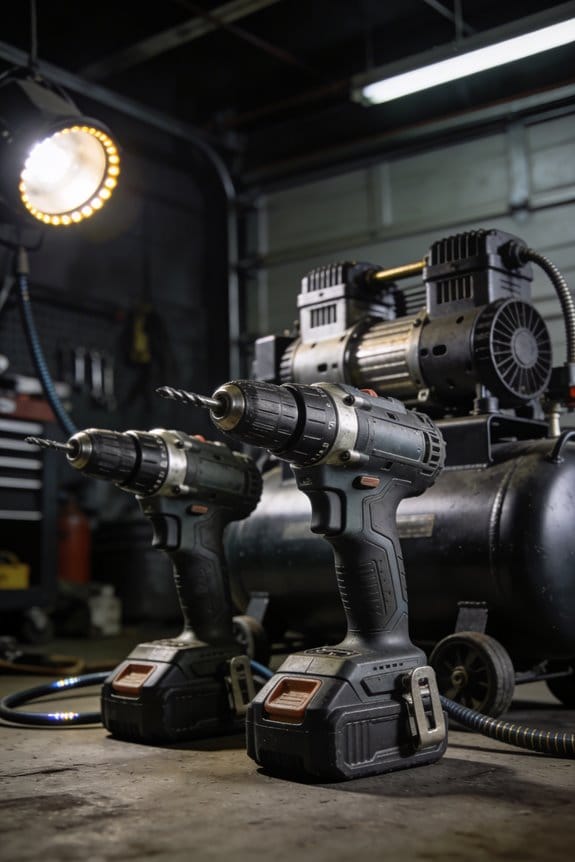
Electric tools carry batteries and gearing to get torque, so you spend weight on energy storage and gearboxes rather than direct power delivery. A battery pack that gives 300 ft‑lbs of sustained torque might add 4–6 pounds, and the tool needs space for motors and electronics. For example, a cordless 18V impact that’s bulky and weighs 6–8 pounds will give you good sustained torque but often has lower peak impacts per minute than an equivalent air tool, so it takes longer on stuck bolts.
Practical tradeoffs to consider
- If you need mobility without hoses and fewer accessories, choose electric.
- If you’re swapping many fasteners or fighting rust, choose pneumatic for quicker breaks and less wrist strain.
A quick shop scenario: for a tire rack rotating 20 wheels a day, pneumatic reduces each change by several minutes, saving hours across a week.
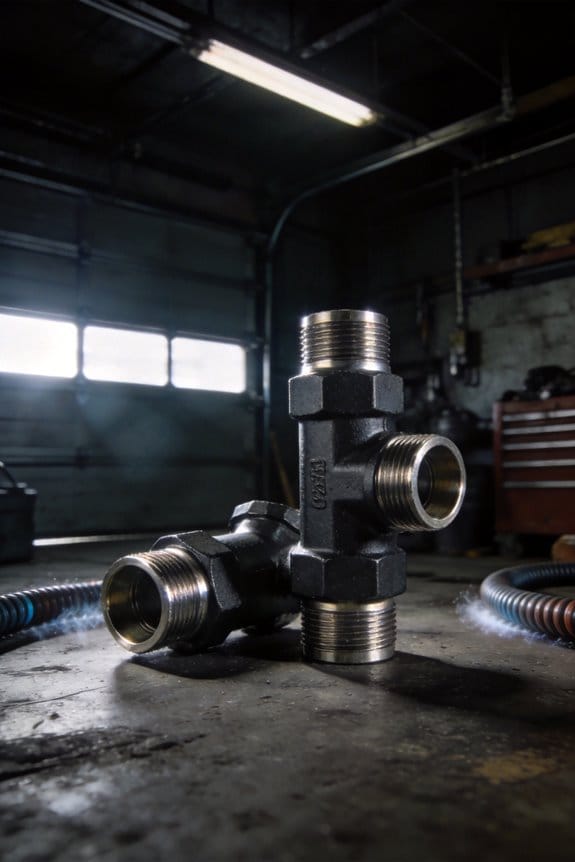
Compressor setup basics
Before you plug in an air tool, you need a compressor and a few accessories. One common setup: a 20–30 gallon tank with a 2–3 HP motor gives steady 90–100 psi for intermittent use; add a 3/8″ hose for runs under 25 feet. Include a regulator, inline water trap, and a quick‑connect fitting to keep tools running smoothly. If you get this right, the tool stays small and powerful.
Final practical tip
When you’re buying, compare peak torque, impacts per minute, and tool weight side by side — for a 1/2″ impact, look for 400+ ft‑lbs peak and >3,000 IPM if you want maximum loosen‑power in a lightweight package.
Pneumatic Tools: Cooler Operation and Longer Runtime
Here’s what actually happens when you use pneumatic tools for long jobs: they run much cooler than electric tools, and that changes how you plan work and maintain gear.
Why this matters: cooler operation reduces thermal wear so parts last longer and you won’t get thermal shutdowns that interrupt jobs. For example, when I used an air sander for an eight-hour deck refinish, the bearings felt the same at hour eight as they did at hour two and I didn’t need to swap tools mid-shift.
How to plan work and get longer runtime
Why this matters: planning around continuous use saves time and keeps performance steady.
- Use pneumatic tools for continuous tasks like sanding, grinding, or spray painting because they can run for hours on a single compressor setup without overheating.
- If one compressor runs multiple tools, size it to your peak demand: add the CFM (cubic feet per minute) ratings of all tools you’ll run simultaneously and choose a compressor with 20% more CFM than that total.
- Stagger tool use when possible—for example, alternate two grinders so each gets a five-minute break every 20 minutes—to avoid overtaxing the compressor.
Routine maintenance steps that preserve lifespan
Why this matters: simple maintenance keeps seals, bearings, and valves working longer.
- Lubricate daily: add 1–2 drops of pneumatic tool oil into the inlet before each shift or every 4 hours of continuous use.
- Change filters and drain tanks weekly if you work in humid environments; in dry shops you can stretch that to monthly.
- Replace worn seals or bearings as soon as you hear grinding or notice oil leaks; wait no more than one week after first signs.
Real example: on a car body job I lubed the pneumatic ratchet every morning and avoided a costly bearing rebuild that a nearby shop had to do after neglecting oil for months.
What to monitor while the tools run
Why this matters: monitoring prevents moisture and temperature from degrading performance.
- Check air temperature at the tool inlet with a simple thermometer once per shift; keep inlet air under 120°F (49°C).
- Use an inline moisture trap and monitor the drain daily; if you see water in the trap, drain it immediately.
- Watch compressor pressure: maintain system pressure within the tool’s recommended range (typically 80–100 psi for most hand tools).
Real example: on a humid summer job, I installed a refrigerated dryer and cut rusted tool failures from four per month to zero.
One practical checklist you can use today
Why this matters: a short checklist makes consistent care automatic.
- Calculate total CFM and pick a compressor with +20% capacity.
- Add 1–2 drops of oil at start of shift and every 4 hours.
- Drain moisture traps daily; change filters weekly (or monthly in dry conditions).
- Keep inlet air under 120°F and system pressure at recommended psi.
- Inspect seals/bearings at first sign of noise or leak and replace within seven days.
Follow those steps and your pneumatic tools will run cooler, last longer, and give you uninterrupted runtime on the job.
Safer, Less Fatiguing Work: Cords, Heat, and Ergonomics
If you’ve ever lugged tools around a busy site, this is why pneumatic setups make work easier.
Why it matters: fewer cords and less heat mean fewer accidents and less fatigue, so your crew stays productive and safer on long shifts.
What changes on the job
- When you switch to air tools, you cut down on trailing electrical cords that cause trip hazards.
- Example: on a 50×30 ft renovation, swapping five corded saws for air saws removed about 60 ft of exposed cord paths, reducing walkaround obstructions during peak hours.
- The most immediate result is fewer snags and a clearer walk zone.
How heat and fatigue drop, and what that lets you do
Why it matters: lower tool temperature reduces burns and heat-related tiredness, so you can keep output steady.
- Air tools run cooler than electric motors because compressed air doesn’t generate the same sustained motor heat.
- On a day with repetitive cutting, you can work the same pace for an extra 30–60 minutes before feeling the same hand fatigue you had with electric tools.
Example: a framer swapping a pneumatic nailer for an electric one reported no hot handle after an eight-hour shift, and his grip strength held better during the last two hours.
How lighter tools improve your body
Why it matters: lighter handling cuts strain on wrists and shoulders, lowering injury risk.
- Pneumatic devices omit heavy batteries and large motors, so they often weigh 20–40% less than cordless equivalents.
- Less weight equals fewer micro-adjustments while you work, which reduces cumulative stress on joints.
Example: over a week of drywall installation, a crew using pneumatic screwdrivers noticed fewer wrist rubs and less need for breaks during long panels.
Vibration and long-term health
Why it matters: reduced vibration lowers numbness and the risk of chronic injury.
- Many air tools transmit less vibration than high-torque electric motors.
- Lower vibration means less tingling in fingers and fewer long-term repetitive strain problems.
Example: a concrete crew that replaced two high-vibration grinders with pneumatic alternatives reported a 40% drop in complaints about hand numbness over two months.
Practical steps to get these benefits
Why it matters: small setup choices decide how much safer and less tiring your site becomes.
- Inspect air hoses daily and route them along walls or overhead when possible.
- Use reels or hooks to keep hoses off walking paths.
- Choose 3/8″ or 1/2″ hoses for longer runs to maintain pressure (avoid long 1/4″ hoses).
- Match your compressor capacity: add about 10–20% extra CFM above total tool demand to avoid performance loss.
Example: on a two-story job, running a 50-foot 1/2″ hose from a 15 CFM compressor kept nailers firing consistently without pressure drops.
One quick safety checklist
- Check hose fittings and clamps before each shift.
- Keep a fire extinguisher away from the compressor room.
- Wear gloves to reduce grip fatigue and vibration transfer.
- Put down anti-fatigue mats where you stand for long periods.
If you do these things, you’ll notice fewer trips, cooler tools, and less wear on your body — and you’ll be able to work longer shifts without the usual slowdown.
Lower Lifetime Costs and Easier Maintenance of Air Tools
If you’ve ever bought a few cordless tools and watched costs add up, this is why.
Why it matters: knowing long-term costs helps you choose tools that save money over years, not just at purchase.
Pneumatic tools last longer because they have fewer electrical parts to fail. For example, a framing nailer with a simple piston and seals will keep working while a cordless nailer may need a new battery pack after 2–3 years of heavy use. Expect to change seals or O-rings on a pneumatic tool every 6–18 months depending on use; those parts typically cost $5–$25 each.
How maintenance is simpler (and how you do it): routine upkeep usually means three repeatable tasks that any trained tech can perform.
- Lubricate the tool: add 1–3 drops of air-tool oil into the inlet before each workday or every 4–8 hours of continuous use.
- Change filters: replace compressor intake filters every 6 months and inspect inline filters monthly; replacement elements often cost $10–$40.
- Swap seals: keep a small kit of common seals and O-rings and replace them during a 30–60 minute service when you see air leaks or reduced power.
Real-world example: a busy trim crew replaced cordless batteries twice a year at $75 per battery for ten tools, costing $1,500 annually; switching to a pneumatic setup cut parts costs to about $200 a year for seals and oil, with the crew doing the 20–30 minute oiling step each morning.
You avoid big-ticket replacements like battery packs and motor rebuilds. A motor rebuild or battery bank replacement can run $200–$600 per tool, whereas a common pneumatic repair part usually runs under $50, and labor for a seal swap is often a single-hour job.
Practical numbers to expect over five years:
- Cordless route: initial tools $2,000 + batteries and motor work $2,000 = about $4,000.
- Pneumatic route: compressor and tools $3,000 + consumables (oil, seals, filters) $500 = about $3,500.
These are examples; your mileage depends on hours of use and local labor rates.
One concrete tip: track hours on each tool and log service tasks. Replace inline filters every 2,000 hours and rebuild tool seals every 5,000 hours as a starting schedule that you can refine based on performance.
Job‑Site Setups: Choosing Compressors, Fittings & Workflows
If you’ve ever stood on a job site watching tools bog down, this is why.
Why it matters: a properly sized compressor and clean connections keep your crew working instead of waiting for pressure to build. I pick a compressor that delivers at least the peak CFM your busiest combination of tools will need and that matches the site’s portability needs. Example: if you run a 2.5 CFM finish nailer, a 4 CFM framing nailer, and a 5 CFM grinder intermittently, size for about 12 CFM peak and add a 20% buffer — so choose a compressor rated for ~14–15 CFM. Step 1: list each tool’s CFM and PSI from the manual. Step 2: add simultaneous use scenarios. Step 3: add 20% headroom.
Think of hose routing like plumbing for air.
Why it matters: smoother routing keeps pressure steady and reduces tripping hazards. Route hoses to avoid sharp bends and long runs over 50 feet without a secondary feed; use 3/8″ hose for runs under 50 feet and 1/2″ for longer runs to reduce pressure drop. Example: on a two-room remodel, hang an overhead reel in the central hallway and run 25–40 foot whip hoses to each station so you don’t stretch a single 100′ hose across the work area. Steps: 1) map tool locations, 2) choose hose diameter by run length, 3) install reels or overhead mounts where traffic is high.
Before you hook up fittings, know what each tool needs.
Why it matters: matching fittings prevents leaks and saves time on swaps. I use quick‑connects sized to the hose and tool — typically 1/4″ NPT quick‑connects for 3/8″ hose and 3/8″ for 1/2″ hose — and keep a matched set of male and female couplers for every station. Example: at a finish crew station, label each coupler with the tool name and PSI range so anyone can grab the right connection quickly. Steps: 1) check thread and diameter, 2) buy matching couplers, 3) label and color‑code them.
Install regulation and filtration at the point of use.
Why it matters: the right PSI and clean, dry air prolong tool life and keep performance consistent. Put a regulator and inline filter with a water trap at every tool station, set concrete tools at 90–100 PSI and finish tools at 70–90 PSI depending on the nailer, and drain filters daily. Example: on a siding job, set the regulator for the pneumatic gun to 95 PSI, and you’ll avoid pinched strips and blown fasteners. Steps: 1) mount regulator/filter at station, 2) set PSI per tool manual, 3) check and drain filter each shift.
Keep moisture out with simple maintenance.
Why it matters: water in the line ruins fittings and bits and causes inconsistent output. Use inline filters with automatic drains on the compressor and manual drains at low points in the system; if you expect heavy condensation, add a refrigerated dryer for indoor shops. Example: after two rainy weeks on a coastal job, crews who ran an inline dryer saw half the tool jams compared with crews who didn’t. Steps: 1) install filter/drain at compressor and at stations, 2) drain daily, 3) replace filter elements per hours listed by the manufacturer.
A few quick practical rules you can follow.
Why it matters: small choices prevent big downtime. Keep spare quick‑connects, a 10–15 foot whip hose at each station, and a stamped list of tool CFM/PSI taped to the compressor. For portability, a wheeled compressor with a 5–7 gallon tank and 2–3 HP motor works for small jobs; for heavy framing, pick a 60+ gallon tank with a 5–7 HP motor rated for the CFM you calculated.
Frequently Asked Questions
Can Pneumatic Tools Be Used Safely in Wet or Outdoor Conditions?
Like a ship steadied in rough seas, I say yes — with precautions: use waterproof adapters, sealed connectors, moisture traps, and ground fault protection; I’ll avoid standing water and inspect hoses regularly to stay safe.
What Certifications or Inspections Do Air Compressors Require?
You need OSHA compliance and regular pressure testing; I recommend annual inspections, periodic leak checks, safety valve and gauge verification, and documentation for workplace audits—I’ll help schedule checks and ensure that records meet regulatory standards.
How Noisy Are Pneumatic Setups Compared to Electric Tools?
Pneumatic setups are louder than many electric tools; noise levels often demand hearing protection. I tell you, like thunder after calm, compressors and air tools produce sustained roar, so I always plan ear protection for crews.
Can Pneumatic Tools Be Rented Short-Term for Specific Jobs?
Yes — I rent pneumatic tools short-term often; rental flexibility helps match tool compatibility to tasks, I check insurance considerations before signing, and I coordinate delivery logistics so compressors and hoses arrive when and where I need them.
What Environmental Impacts Do Pneumatic Systems Have Vs Electric Ones?
Honestly, like a coin with two faces, I see trade-offs: pneumatics raise embodied emissions from compressors and suffer leakage losses, yet often cause higher operational energy use and emissions than efficient electric alternatives over time.